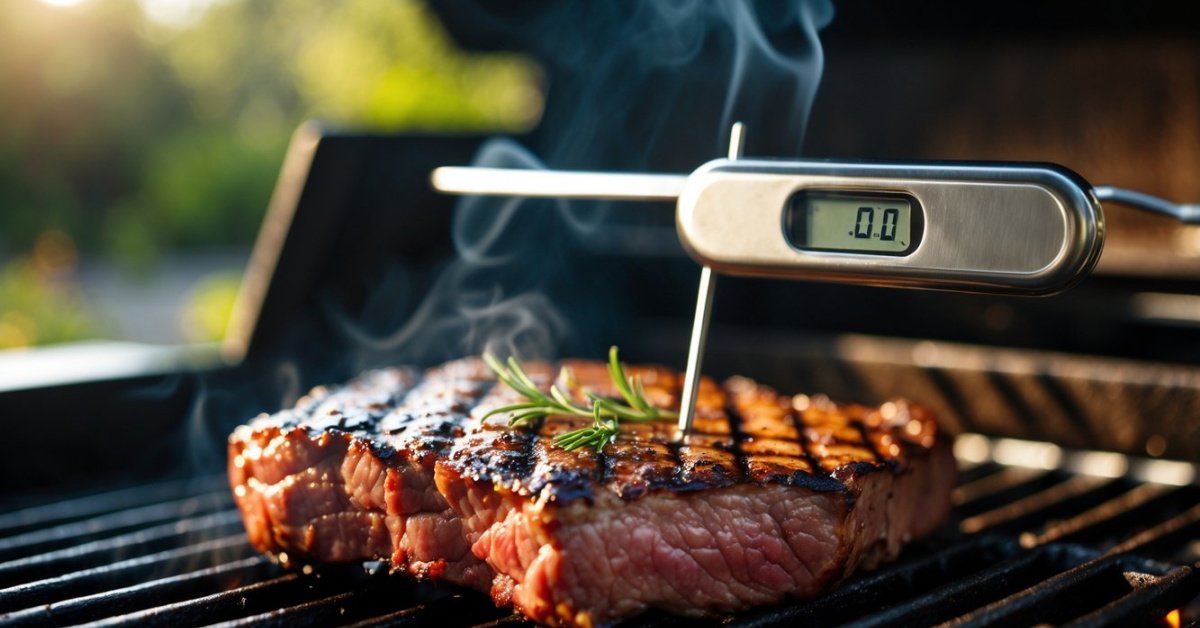
Grilling duck always feels like a special treat, but getting it just right can be tricky. I’ve learned the difference between juicy perfection and disappointment often comes down to one simple tool—a trusty thermometer. If you’re like me and want that crispy skin with tender meat every time, knowing how to use a thermometer is a game changer.
It’s easy to guess when duck is done, but I’d rather skip the guesswork and enjoy flawless results. With a thermometer in hand, I feel confident serving up duck that’s cooked to perfection, whether I’m grilling for a crowd or just treating myself. Let’s make grilling duck less intimidating and a lot more delicious.
Choosing the Right Thermometer for Grilling Duck
Instant-read thermometers give quick, accurate temperature checks, making them perfect for duck breasts or smaller portions. I use models like the ThermoWorks Thermapen ONE or the Lavatools Javelin PRO Duo when I want to check doneness fast without holding the grill open for long.
Leave-in probe thermometers let me monitor duck from start to finish, especially for whole grilled ducks. Digital remote-read options like the MEATER Plus or ThermoWorks Smoke X keep me updated in real-time without the need to lift the lid, so heat loss stays minimal and the duck skin crisps up evenly.
Waterproof and high-heat probes last longer through high grill temps and fatty duck drips. I favor thermometers with at least a 572°F (300°C) probe tolerance, like those found in the ThermoPro TP20.
Large, backlit displays make it easy to read temps, even when grilling outside after dark. Models with big, clear screens, such as the ChefAlarm, save me time and guesswork when cooking at dusk or with smoky grills.
Calibration features help ensure my readings are always spot-on. Built-in calibration or ice water test options add peace of mind, especially if I’m grilling duck for a crowd and can’t afford slip-ups.
Bluetooth and app connectivity in modern thermometers let me keep tabs on duck temps from my phone. I use this feature for larger events or long cooks so I don’t need to stand over the grill the whole time.
I always check that the thermometer is easy to clean and that it resists grease buildup from duck fat. Models with detachable probes or waterproof housing make my post-grill cleanup sessions quick and simple.
Preparing the Duck for Grilling
Grilling duck with a thermometer calls for a few key steps before heading to the grill. These steps help the thermometer give you a true reading and get the best results from both meat and skin.
Cleaning and Seasoning
Cleaning and seasoning the duck set up accurate temperature checks and flavorful results. I always remove excess fat and pinfeathers, rinse the duck inside and out, then pat it dry with paper towels. Dry skin crisps up better during grilling and makes for better thermometer placement. I season the whole surface, including the cavity, using salt, pepper, and my favorite bbq rubs. Even layers on the skin support even cooking and let the thermometer register the true internal temperature.
Bringing the Duck to Room Temperature
Bringing the duck to room temperature promotes consistent temperature readings. I take the duck out of the fridge and let it sit at room temperature for 30–45 minutes. Cold meat cooks unevenly and can throw off thermometer readings by several degrees. Room-temperature duck ensures the thermometer reflects the correct internal temp as it grills and results in a juicier, evenly cooked bird.
Step-by-Step Guide: How to Use a Thermometer for Grilling Duck
Using a thermometer when grilling duck guarantees that every bite’s flavorful and safe. I rely on these next steps every time I want juicy meat paired with crispy skin.
Inserting the Thermometer Correctly
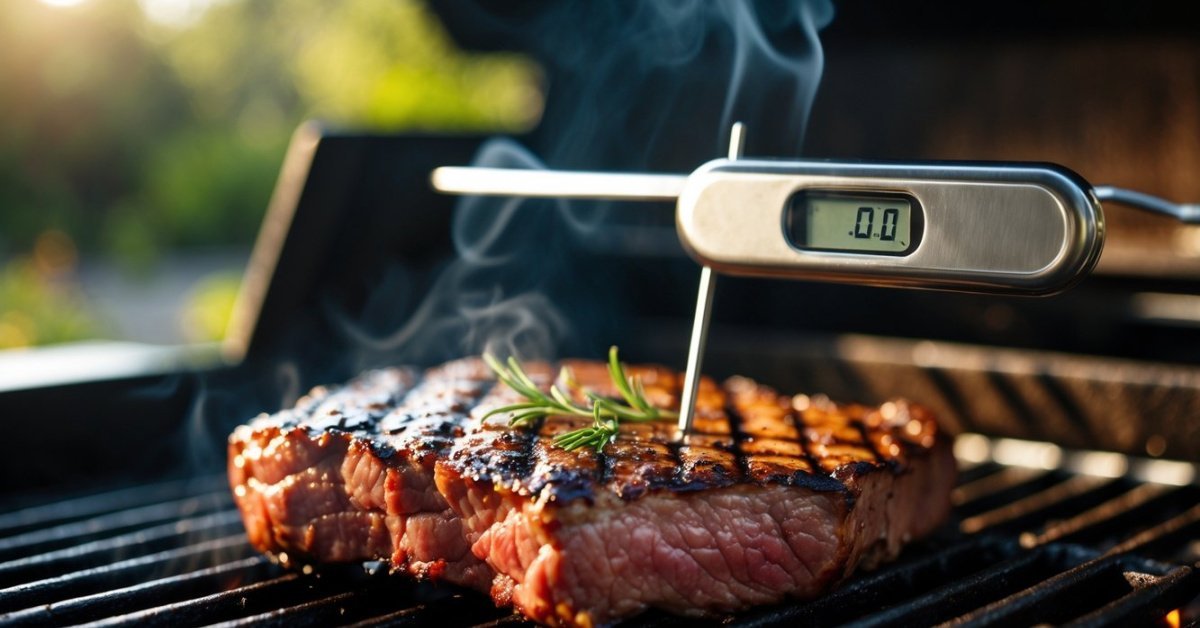
I always insert the thermometer probe into the thickest part of the duck’s thigh, since this spot heats up slower than the breast. I make sure the tip’s not touching bone, since that’ll throw off the reading. I angle the probe so it sits squarely in the meat, with at least 1 inch inside the thickest area. For spatchcocked or halved ducks, I check both sides to confirm even cooking. If I’m grilling a whole duck with a leave-in probe, I insert before the lid goes down, threading the wire away from the hottest grill spots.
Monitoring the Internal Temperature
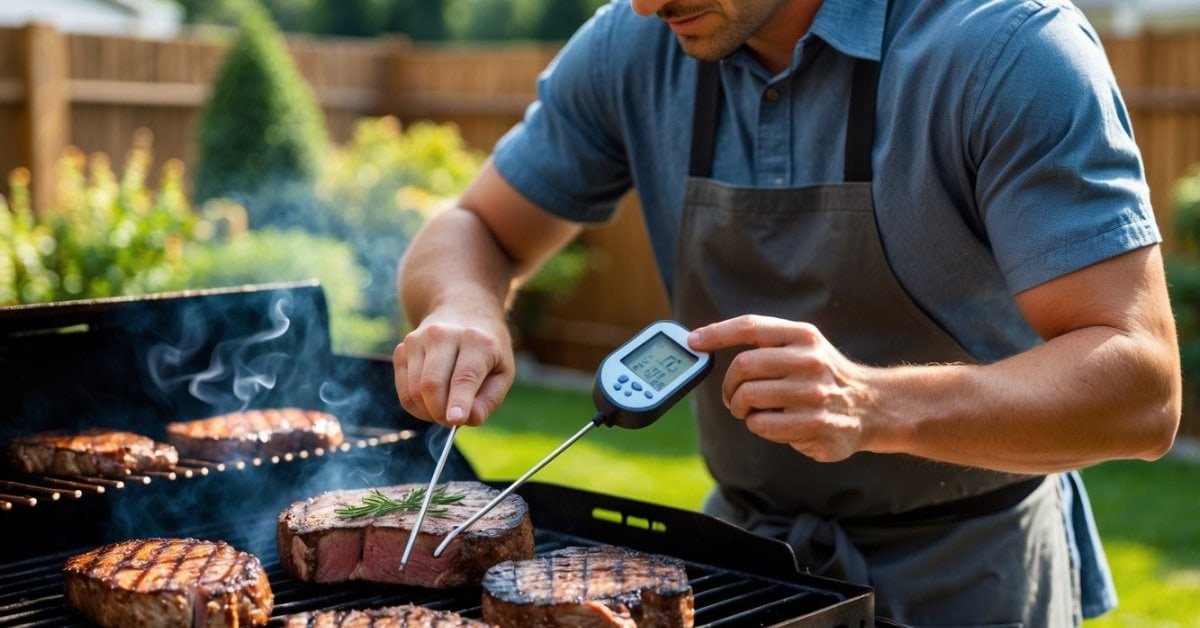
I keep my thermometer handy, checking temperatures without piercing the duck too many times. For instant-read models, I test both thighs for consistency. For leave-in probes like my MEATER Plus, I track the temperature on my phone—no grill lid lifting. I aim for 155°F in the thigh before pulling the bird, since duck continues rising 5–10°F during resting (USDA, 2023). I always rest the duck for at least 10 minutes to set the juices. If I want crispier skin, I monitor closely during the last phase, finishing with a quick, hot sear if the thermometer shows the duck isn’t quite there.
Recommended Temperature Guidelines for Duck
Accurate temperature control makes grilled duck juicy and safe to eat. I always rely on a good thermometer and stick to science-backed temperatures for perfect results.
Safe Internal Temperature
Target the correct internal temperature for duck when grilling. I aim for 155°F (68°C) in the thickest part of the thigh, referencing USDA minimum safe guidelines which list 165°F (74°C) for poultry but noting that duck can be enjoyed slightly pink and remains safe if held above 150°F (66°C) for at least 4 minutes (source: USDA FSIS). Avoid letting the probe touch bone, which registers false highs.
- Whole duck: 155°F in thigh, avoiding bone
- Duck breasts: 135–140°F (57–60°C) for medium-rare, 145°F (63°C) for medium
Monitoring these spots ensures both safety and the right texture.
Resting Time and Carryover Cooking
Carryover cooking continues after pulling duck from the grill. I let whole ducks rest for 10–15 minutes uncovered, which causes internal temperature to climb another 5–10°F (3–6°C). This sets the juices and brings thigh meat to the optimal target of 160–165°F. Resting matters most for larger whole ducks but improves sliced breast texture too. Always factor this rise into your final reading for true doneness.
Tips for Achieving Perfectly Grilled Duck
- Patience when Checking Temperatures
I track internal temperature often because duck cooks unevenly, especially over indirect heat. I let the thermometer stabilize for 5–10 seconds before I trust a reading, using an instant-read model for quick double-checks on thighs, breasts, and the thickest part of the duck.
- Consistent Placement of the Thermometer
I insert the thermometer probe into the thickest area of the thigh, keeping clear of any bone or fat pockets. Consistent placement in the same spot lets me compare results across cooks and spot problem zones like hot spots or undercooked areas.
- Monitoring Skin Crispness Separately
I keep the grill lid open after reaching the target temperature if I’m chasing ultra-crispy skin. I move the duck briefly over higher heat and watch for visible bubbling or deep golden color on the skin, since thermometers only track meat doneness.
- Resting for Juiciness
I rest grilled duck for 10–15 minutes minimum, tented loosely with foil. Resting evens out the temperature, making it easier to check juices for a rosy, pink finish—if the temperature’s on target, juices run clear.
- Adjusting for Grilling Styles
I adjust for direct or indirect grilling by shifting the duck around hot and cool zones. I use multiple temperature checks to account for grill flare-ups or cooler spots.
- Oiling and Cleaning the Thermometer
I apply a thin coat of neutral oil to my probe before use, especially for skin-on duck. This prevents sticking and makes post-cook cleaning simple—important if grease splatter builds up during longer cooks.
These strategies help me pull consistently juicy, flavorful duck off the grill every time, with each tip built on hundreds of test cooks and countless thermometer models.
Common Mistakes to Avoid When Using a Thermometer
Misplacing the Probe
I place the thermometer probe in the thickest part of the duck’s thigh, avoiding bone and fat pockets because those areas give false readings. Probing too close to the bone or into a fatty spot skews the temperature 5–10°F higher or lower than the actual doneness of the meat.
Removing the Thermometer Too Soon
I keep the probe in the meat until the internal temperature steadies, instead of pulling it right after inserting. If I remove the thermometer too quickly, the reading often jumps or drops, leading to undercooked or dry duck.
Using a Dirty Thermometer
I always clean the probe between uses because leftover fats or juices from previous cooks impact accuracy and increase cross-contamination risks. Grilling duck, especially, builds up sticky grease that interferes with temperature detection.
Neglecting Calibration
I check my thermometer’s calibration every month using ice bath or boiling water methods, finding many models off by 2–4°F after repeated use. Leaving a poorly calibrated thermometer unchecked throws off results for every cook.
Failing to Rest the Duck
I trust the thermometer reading but also let the duck rest after grilling since carryover cooking raises the temperature another 5–10°F. Carving immediately after checking the temperature ignores this, resulting in less juicy meat.
Checking in Different Spots
I consistently use the same spot on the duck when checking the temperature, not bouncing from breast to thigh to leg. Switching locations with each check creates uneven readings and confusion about true doneness.
Ignoring Display Readability
I use thermometers with large, backlit displays, because low light at the grill causes misreads on dim screens. Straining to read numbers in poor lighting leads to inaccurate results and over- or under-cooked duck.
Letting the Probe Sit in Flames or Direct Heat
I avoid leaving the thermometer probe sitting directly in high flames or heat zones, as exposed sensors sometimes become less reliable over time. Direct grilling heat can degrade electronics, especially with cheaper models.
Forgetting to Preheat Duck Before Taking a Reading
I always allow the duck to reach room temperature before grilling, as taking readings on cold meat gives misleading results—the outside heats up faster than the inside, making the thermometer reading unreliable early on.
Conclusion
Grilling duck can feel intimidating but using a thermometer takes away so much of the guesswork. I’ve found that a reliable thermometer not only boosts my confidence but also guarantees juicy results every time. With a little patience and the right tools grilling duck becomes a stress-free and rewarding experience.
If you haven’t tried grilling duck with a thermometer yet give it a shot on your next cookout. You’ll be amazed at how much easier it makes the process—and how delicious your duck turns out. Happy grilling!