
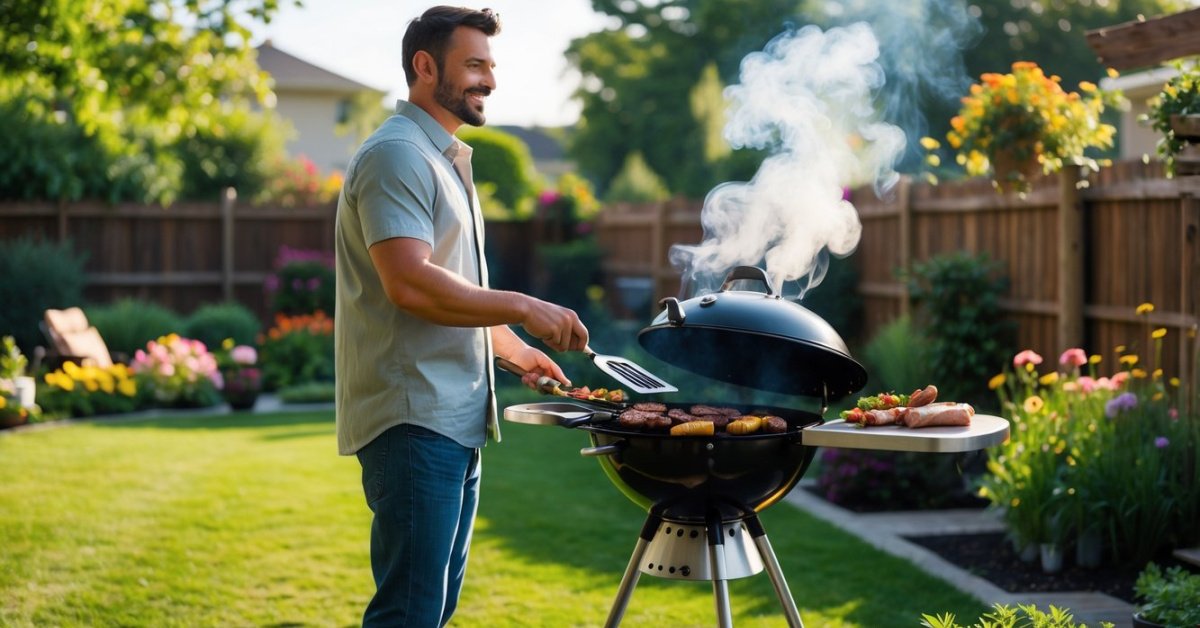
Grilling on a kamado grill always feels like an adventure to me. The smoky aroma the gentle sizzle and the promise of juicy perfectly cooked food make every cookout special. But I’ve learned that even the best grill can’t guarantee flawless results without a little help from a trusty thermometer.
I used to guess when my steaks or chicken were done but that led to more than a few disappointments. Now I rely on a thermometer to take out the guesswork and make sure everything comes off the grill just right. If you’re ready to step up your grilling game and serve up delicious food every time using a thermometer is the secret you’ll wish you’d tried sooner.
Understanding the Importance of Temperature Control in Kamado Grilling
Precise temperature control shapes every successful cook on a kamado grill. Grilling on kamado cookers, I rely on steady internal temperatures, since thick ceramic walls insulate heat differently than metal kettle grills. This unique construction gives me the ability to hold temps low and slow for hours or crank it up for searing steaks.
Consistent control determines results when grilling brisket, pork shoulder, or whole chickens—cuts where even minor fluctuations can mean underdone or overcooked meat. Meat science experts, like those at Texas A&M AgriLife Extension, specify target ranges for safe doneness, from 145°F for pork loin to 203°F for brisket (source: USDA). Without measuring temp, achieving these benchmarks becomes guesswork.
Using a thermometer enhances my control over both grill and food temperatures. Ambient grill thermometers help me hold temperatures steady, while instant-read probes let me track food progress. Ribs grilled at 225–250°F over indirect heat stay tender and juicy; burgers need 450–500°F for an ideal crust. I track both numbers on every cook.
Cooks see greater consistency and fewer failures when monitoring temps. Steakhouses and bbq joints depend on thermometers for reliability—my experience running a Texas food cart proved their value. Grilling with measured confidence yields better flavor, texture, and appearances in every dish I pull off the kamado.
Types of Thermometers for Kamado Grills
Picking the right thermometer lets me track both grill temps and the doneness of my meat every time I use my kamado. I always compare different types to match how and what I’ll be cooking.
Built-In vs. External Thermometers
Built-in thermometers, like the dome gauges on many kamado grills, measure air temperature at the lid. These give a ballpark reading of the grill’s environment but often run 30°F or more higher than at grate level, especially during low-and-slow cooks. I use these for quick checks but never rely on them for precise doneness.
External thermometers, such as digital probe sets and instant-read models, provide direct readings inside the meat or at the grate. Probe thermometers with heat-resistant cables handle long cooks and let me monitor both grill temp and meat temp at the same time. I use external probes to place sensors at two spots: grate level for an accurate cooking zone temp and inside the thickest cut of protein for doneness.
Digital vs. Analog Thermometers
Digital thermometers, including probe-based monitors and instant-read pens, display readings quickly—usually in under 5 seconds. I reach for these when grilling thick cuts like brisket or checking the temp of chicken breast. Many digital models, like ThermoWorks or Inkbird, include wireless features or Bluetooth. These notify me on my phone whenever temps veer off target.
Analog thermometers, like dial instant-reads or classic grill dome gauges, respond slower (often 20-30 seconds) and sometimes need frequent calibration. I’ll use analogs for backup or as a rough reference when I’m grilling over steady, high heat, but not for critical doneness checks.
| Thermometer Type | Placement | Speed to Read | Accuracy | Best Use Example |
|---|---|---|---|---|
| Built-In Dome | Grill lid | Slow | Low | Monitoring grill temperature |
| External Probe | Meat, grill grate | Fast | High | Brisket, pork shoulder, ribs |
| Digital Instant-Read | Meat (by hand) | Fastest | High | Steaks, chicken, burgers |
| Analog | Grill lid, meat | Slowest | Moderate | General outdoor grilling |
Step-by-Step Guide: How to Use a Thermometer for Grilling in a Kamado Grill
Accurate temperature checks make the difference between decent barbecue and next-level grilling. I always set up my kamado grill and thermometer methodically to lock in flavor and doneness.
Preparing Your Kamado Grill and Thermometer
Clean grates and clear vents promote stable temperatures on a kamado grill. I sweep out ash, wipe grates, and check that no debris blocks the intake or exhaust. For dual-probe digital thermometers, I test the batteries and calibrate with ice water, ensuring both ambient and meat sensors read within ±2°F. I keep extra probes handy since intense heat can wear out wires over time.
Placing the Thermometer Correctly
Probe position matters for accuracy with a kamado grill. I insert the ambient probe on the main grate, at least 2 inches from meat or grill edges, for a true cooking zone temperature. I avoid placing it too close to the ceramics, which stay hotter than air in the dome. For internal meat temp, I push the instant-read or probe thermometer into the thickest part of the cut—avoiding bone, fat, or empty cavities. On brisket or pork shoulder, for example, I target the geometric center, which cooks slowest.
Monitoring and Adjusting Temperatures During Grilling
Active monitoring creates consistent results on the kamado. I watch the thermometer display to keep the ambient range within 225–250°F for low-and-slow BBQ, or crank it up to 550°F for searing steaks. If the temperature climbs too fast, I dial back the bottom vent or partially close the top damper. If the number drops below target, I open vents slightly to boost airflow. When meat nears its target temperature—like 203°F for brisket—I probe at several points to confirm doneness. Using a thermometer throughout the cook, I deliver tender, juicy barbecue, whether testing new sausage links or classic ribs.
Tips for Accurate Temperature Readings
- Start with a calibrated thermometer
I confirm my thermometer’s accuracy before every cook using the ice water and boiling water methods recommended by the USDA, since even slight calibration errors cause problems, especially with thick meats like brisket or pork shoulder.
- Insert the probe into the thickest part
I always place the probe into the thickest part of the meat, away from bone and fat, because bone and fat heat differently and can show false temperatures. I use spot checks in a few places—brisket flat, chicken thigh center, or pork loin middle—to make sure readings are consistent.
- Avoid letting the probe touch the grill grate
I make sure the probe tip doesn’t rest against metal grates, since metal heats faster than meat and results in inaccurate high readings, particularly during high-heat searing.
- Monitor ambient and internal temperatures separately
I use two probes if possible: one clipped to the grill grate for ambient temp and one inside the meat for internal temp. This lets me keep the kamado grill environment stable while ensuring safe doneness for items like poultry, ribs, or steak.
- Minimize lid opening
I avoid opening the kamado frequently, because every time I lift the lid, heat escapes and can create false low readings. With wireless remote probes, I check my readings without lifting the dome, especially during long smokes.
- Clean thermometer probes after every cook
I clean my instant-read or probe-style thermometers after every session, as leftover residue can affect readings and lead to cross-contamination, particularly when grilling different proteins.
Here’s a quick reference table with the best practices:
| Practice | Why It Matters | Example Meats |
|---|---|---|
| Calibrate thermometer | Prevents accuracy errors | Brisket, pork shoulder |
| Insert in thickest section | Measures true doneness, avoids false readings | Chicken breast, loin |
| Avoid grate contact | Prevents artificially high temps | Steaks, ribs |
| Separate ambient and internal probes | Tracks grill and food temps individually | Poultry, beef roast |
| Limit lid opening | Maintains stable grill environment | Pork butt, turkey |
| Clean probes | Ensures accuracy, prevents contamination | All meats |
Using these tips on my kamado grill, I get reliable, repeatable results whether I’m grilling sausage links for a tailgate or slow-smoking a 14-pound brisket for a backyard crowd.
Common Mistakes to Avoid When Using a Thermometer in a Kamado Grill
- Using Only the Built-In Thermometer
Relying only on the built-in dome thermometer in a kamado grill leads to inaccurate cooking, especially when making brisket, ribs, or pork shoulder. Dome thermometers read air several inches above the grate, so meat near the fire may cook faster or slower than expected.
- Placing the Probe Incorrectly
Inserting a thermometer probe too close to the bone, fat pocket, or grill surface gives misleading readings—brisket, turkey, and bone-in cuts need the probe in the thickest part, away from gristle and grates.
- Opening the Lid Too Often
Lifting the dome frequently causes heat loss and temperature swings—never try to check temperatures after every few minutes, as this extends cook times for smoked chicken, pork butts, or steaks.
- Neglecting Calibration
Forgetting to calibrate digital or analog thermometers results in repeated overcooked or undercooked results—check calibration before each use, especially if using a probe after long storage.
- Failing to Use Separate Probes for Meat and Ambient Grate Temperature
Using a single probe for both meat and air temperature underestimates the complexity of kamado cooking—meat probes read internal temps, while ambient probes reflect the true cook zone.
- Letting Cables or Probes Touch the Fire or Ceramic
Allowing thermometer wires or probes to touch burning coals, flame, or the ceramic wall in a kamado can destroy sensors—keep cables routed above grates and avoid hot spots.
- Not Cleaning Probes Properly
Leaving residue on thermometer probes introduces cross-contamination and affects sensor performance—always clean probes with hot, soapy water after each cook.
- Trusting the Thermometer Alone
Assuming that temperature is the only doneness indicator ignores texture, color, and juices—when making bbq, always combine temp checks with a visual and tactile check for finished results.
Mistake
| Context Example |
Reason
| — |
Using only dome thermometer
| Brisket, ribs, pork shoulder |
Reads higher or lower than grate
Improper probe placement
| Bone-in cuts, turkey, brisket |
Misreads temp, risk of over/undercooking
Repeated lid opening
| Chicken, pork butt, steaks |
Heat loss, temp fluctuations
No calibration
| Digital, analog, long-stored thermometers |
Drifts out of accuracy
Single probe use
| Ambient, internal temp confusion |
Incomplete data
Probe/cable fire contact
| Wires near fire, touching ceramics |
Damaged sensors, false readings
Dirty probes
| After high-fat cooks, multiple meats |
Cross-contamination, inaccuracy
Relying only on temp
| BBQ, roasts, burgers |
Conclusion
Grilling on a kamado has taught me that a reliable thermometer is one of the best tools I can have by my side. It takes the guesswork out of the process and lets me focus on enjoying the experience and the company.
With a little attention to detail and the right thermometer, I’ve found that every meal has the potential to impress. If you want your barbecue to stand out, don’t leave temperature to chance—let your thermometer guide you to delicious results every time.


