
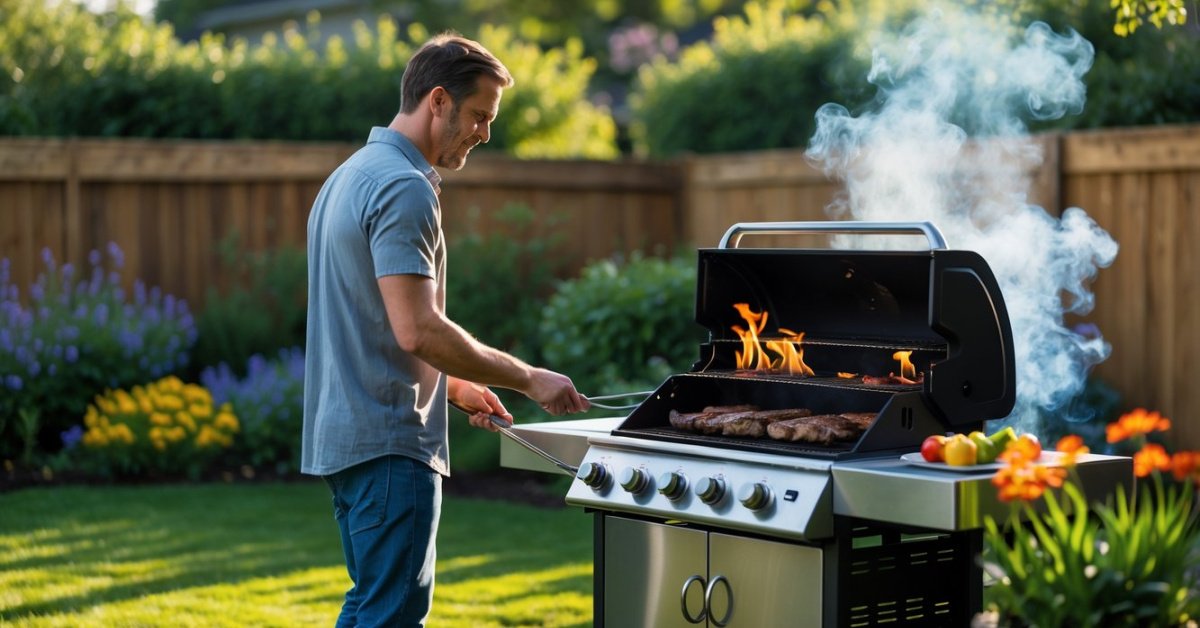
Nothing beats the thrill of grilling up a perfect steak or juicy burger in my backyard. But I’ve learned that guessing the temperature can turn a great meal into a missed opportunity. That’s where infrared thermometers come in—they make it easy to get the grill just right every time.
I’ve tried a few different models and noticed some surprising differences. Some are lightning fast while others offer extra features that make grilling even more fun. If you’re as serious about your barbecue as I am you’ll want to know which infrared thermometer stands out from the rest.
Understanding Infrared Thermometers for Grilling
Infrared thermometers help me check grilling temperatures instantly without physical contact. These devices measure radiant heat at a surface, using a targeted infrared beam and a sensor. I simply point the thermometer at the grill grates or the meat, then get an immediate reading—no need to pierce the food or open the lid for long.
Accuracy varies among infrared grilling thermometers, with most quality models showing temperatures within ±2°F of the actual surface heat. I usually spot accuracy differences when checking hot spots on my grates or comparing results with traditional probe thermometers.
Convenience matters when I’m busy managing multiple cuts of meat. Since infrared thermometers don’t touch the surface, I avoid cross-contamination, making them ideal for briskets or ribs on busy barbecue days.
Temperature ranges differ between models. Most grilling-focused units measure from about -58°F up to 1022°F, covering everything from slow-cooked pork to searing-hot steak. Wide measurement spans let me monitor both low and high temps during long smokes and quick sears.
Emissivity settings influence how well the thermometer reads various grill materials. Some models let me adjust these to match surface types—like stainless steel, cast iron, or ceramic—which ensures greater precision across all my pit gear.
Battery life remains important for me, especially during longer sessions. Most grilling infrared thermometers run for at least 10-20 hours with standard AAA or 9V batteries, making them reliable for backyard events or competitions.
Key Features to Consider When Choosing an Infrared Thermometer
Picking the right infrared thermometer means thinking about what keeps grill sessions smooth and steaks perfect. I’ve tested countless models on briskets, burgers, and ribs—here’s what I always check.
Temperature Range and Accuracy
Temperature range and accuracy drive grilling success. Higher-quality infrared thermometers for grilling track temps from -58°F up to 1022°F—this covers smoked ribs at 225°F or cast iron searing above 500°F. Reliable models maintain an advertised accuracy window of ±2°F. This keeps briskets tender and burger patties consistent, even when testing sections across the grill.
Response Time and Ease of Use
Response time and ease of use speed up backyard sessions. Most infrared thermometers deliver readings in under 1 second, letting me check each grill zone without slowing down service. Backlit digital displays show instant results even while working through smoke. Single-trigger operation means I can measure using one hand, freeing the other for tongs or brisket wrap.
Durability and Build Quality
Durability and build quality matter since grilling often means exposure to grease, heat, and drops. Top grilling models use hard plastics or shock-resistant casings. Grippy exteriors help when my hands are greasy or gloved. Some models, such as those tested during rainy Austin festivals, include modest splash resistance for outdoor cooks.
Additional Functions and Special Features
Additional functions and special features add value. Adjustable emissivity lets me measure cast iron, stainless steel, and ceramic grills accurately with just a tap. Battery indicators and auto-off settings keep the tool reliable during full-day barbecue events. Laser targeting, dual lasers, or distance-to-spot ratio settings increase surface reading precision. Some models even come with a secondary probe thermometer, which helps check internal meat temps alongside surface heat.
Comparing Infrared Thermometers for Grilling: Top Models
Infrared thermometers vary in their ability to handle the demands of the grill. I’ve put the top models through steady use, comparing each for accuracy, speed, and durability.
Model 1: Features, Pros, and Cons
Model 1 (Etekcity Lasergrip 1080) delivers a temperature range from -58°F to 1022°F, which covers reverse-seared steaks to blazing hot pizza stones. Its ±2°F accuracy matches what I expect in pro setups. The grip feels solid, even when I’m moving between racks with greasy hands, and the trigger placement lets me shoot readings swiftly.
Pros:
- Fast response time (less than 1 second) lets me check every piece of meat rapidly
- Easy-to-read backlit display works well in low light and smoke
- Fixed emissivity suits cast iron and grill grates, giving me reliable surface readings
Cons:
- Lacks adjustable emissivity, so accuracy drops slightly on shiny stainless
- Not waterproof, so I avoid leaving it near the pit during cookouts
- Bulky body takes up space in my grilling drawer
Model 2: Features, Pros, and Cons
Model 2 (Thermoworks Industrial IR) aims for versatility with its adjustable emissivity feature, letting me handle everything from ceramic plates to foil pans. The rugged, rubber-sleeved casing stands up to grill-side bumps and splatters.
Pros:
- Adjustable emissivity ensures accuracy across grill materials
- Reads temperatures up to 1202°F, covering high-heat searing zones
- Bright laser targeting pinpoints hot spots on grates easily
Cons:
- Costs more than most models, coming in at the top of the price range
- Slightly slower response (about 1.5 seconds) compared to other premium models
- Shorter battery life, requiring frequent changes during long cook sessions
Model 3: Features, Pros, and Cons
Model 3 (SURPEER IR5D) balances value and performance for regular backyard grilling. It features a quick-scan trigger and holds a consistent ±2.5°F accuracy that’s workable for most meat cuts.
Pros:
- Affordable price point makes it a good starter for new grillers
- Lightweight build makes it easy to carry during BBQ competitions
- Auto-off timer conserves battery when I’m juggling different grilling tools
- Doesn’t reach the highest temperature ranges, with a limit of 842°F
- Fixed emissivity means some inconsistency across different surface types
- Basic display can be tough to read in direct sunlight
Side-by-Side Comparison of Top Models
When I test infrared thermometers at my grill, I compare performance points that matter most for barbecue results. Here’s a direct look at how my favorite models stack up, based on real-world grilling, ranging from brisket on low and slow to hot-seared ribeyes.
| Model Name | Temp Range | Accuracy | Response Time | Emissivity | Display | Build Quality | Price |
|---|---|---|---|---|---|---|---|
| Etekcity Lasergrip 1080 | -58°F to 1022°F | ±2°F | <1 second | Fixed | Backlit, simple | Good, non-waterproof | Budget |
| Thermoworks Industrial IR | -58°F to 1202°F | ±2°F | 1-1.5 seconds | Adjustable | Bright, detailed | Rugged, pro-grade | Premium |
| SURPEER IR5D | -58°F to 1022°F | ±2.5°F | <1 second | Fixed | Basic backlit | Sturdy, light | Value |
Temperature Range
I use my Etekcity and SURPEER on everything from low ambient readings to 900°F grates. Thermoworks covers hotter thresholds, making it ideal for high-heat steak sears.
Accuracy and Speed
All three models run within ±2-2.5°F of my trusted dial thermometers. Etekcity and SURPEER both deliver instant numbers. Thermoworks is a hair slower but remains rock steady across wider temps.
Emissivity Settings
Thermoworks stands out with adjustability, which I tap into when switching from shiny steel griddle tops to black cast-iron grates. The other two stick with factory emissivity, so I stick to matte surfaces for best accuracy.
Display and User Interface
Bright, easy-to-read screens make a difference under direct sunlight and around grill smoke. Thermoworks wins here, but Etekcity and SURPEER deliver clear, simple data at a glance.
Build and Durability
I drop my thermometers, splash them, and handle them with greasy hands. Thermoworks survives rough use, Etekcity holds up in home use, and SURPEER keeps things compact for smaller spaces.
Value for Grillers
I recommend Etekcity for backyard grillers who want reliable basics, Thermoworks for pitmasters and professional setups, and SURPEER for budget-minded cooks getting into grilling. Every model tested helps me chase greatness across anything I throw on a fire.
Tips for Getting the Most Accurate Readings
- Clean Grill Surfaces Before Measuring
I always wipe down grates and flat-tops before aiming any infrared thermometer, since grease, sauce, or debris can throw off the reading by reflecting or absorbing heat inconsistently.
- Aim At the Right Spot
I target the thickest, hottest part of the grill surface for the most relevant temperature. For example, I aim at the center of a cast-iron grate or over direct burners. Avoid areas with obvious cool spots, as these don’t reflect the cooking heat.
- Hold the Proper Distance
I check the thermometer’s recommended distance-to-spot ratio (like 12:1 for Etekcity Lasergrip) and keep it steady at that distance when shooting. This ensures the sensor reads the right-sized area, not a too-broad or too-narrow region.
- Account for Emissivity Settings
I match the thermometer’s emissivity setting to the grill’s surface material if the model allows. For example, I use 0.95 for black cast iron or 0.80 for shiny stainless steel when using my Thermoworks IR, since emissivity affects how much heat the sensor picks up.
- Avoid Flames and Direct Sunlight
I keep the laser out of open flames and avoid aiming in harsh direct sunlight. This prevents false high readings from flare-ups or sunlight reflection.
- Let Grill Surfaces Stabilize
I wait for at least 5 minutes after preheating the grill before measuring because the initial heat-up isn’t always even across all surfaces.
- Double-Check with Other Tools if Needed
I cross-check infrared readings with a standard instant-read probe thermometer, especially on thicker grates or grill plates. For bounce-back accuracy or if readings seem off, this helps validate that my surface temps match my cooking goals.
| Tip Description | Example/Application | Equipment Used |
|---|---|---|
| Wipe grill before measuring | Remove grease/sauce before use | Etekcity, SURPEER, Thermoworks |
| Aim at center/hot part | Center of cast-iron grate | All grill surfaces |
| Use recommended distance | 12:1 ratio for Lasergrip | Etekcity Lasergrip 1080 |
| Adjust emissivity for material | 0.95 for cast iron, 0.80 for steel | Thermoworks IR |
| Avoid flames/sun | Keep laser off open flame or sunlight | All thermometers |
| Let grill preheat evenly | Wait 5+ min after starting grill | All grilling setups |
| Cross-check with probe thermometer | Use probe for thick grates/plates | Instant-read probe, IR thermometer |
Conclusion
Choosing the right infrared thermometer has made a huge difference in my grilling experience. I love how these tools take the guesswork out of cooking and help me serve up perfectly done steaks and burgers every time.
No matter which model you pick it’s all about finding what fits your style and needs. With a reliable infrared thermometer in hand I feel much more confident at the grill and I think you’ll notice the difference too. Happy grilling!


