
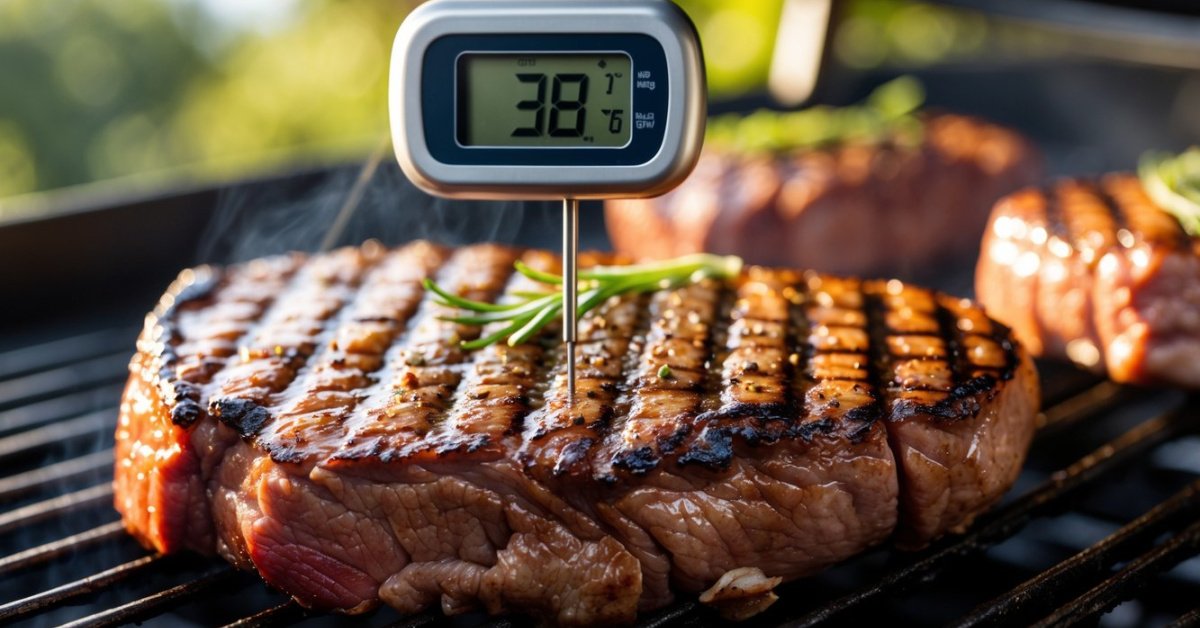
Every time I fire up my rotisserie I want to make sure my food turns out juicy and perfectly cooked. Nothing ruins a great meal faster than guessing whether the chicken or roast is done. That’s where a trusty thermometer comes in—it’s my secret weapon for nailing the perfect doneness every single time.
Using a thermometer with a rotisserie can be a little tricky though. With all that spinning and heat I’ve learned a few tricks to get accurate readings without losing all those delicious juices. If you love rotisserie as much as I do you’ll want to know how to make the most of your thermometer for mouthwatering results.
Understanding Rotisserie Cooking and Temperature Control
Rotisserie cooking keeps meat in constant motion over the heat source. I use this spinning action to make whole chickens, ribs, and pork loin basted in their own juices for even browning.
Temperature control determines whether meat stays juicy or dries out. My experience running a BBQ food cart in Texas showed me that meats like brisket and prime rib don’t forgive high heat or uneven temps. Rotisserie setups combine direct radiant heat, like burners or hardwood coals, with indirect air flow. This creates hot zones and cooler spots as the meat turns. I always check these zones before starting to see how heat spreads in my setup.
Grilling thermometers measure internal meat temperature, the key benchmark for safe and flavorful results. USDA guidelines list 165°F for poultry and 145°F for pork or beef roasts, but I’ve found optimal texture sometimes means pulling meat off heat a few degrees early since carryover cooking increases internal temps after resting.
In rotisserie grilling, I insert the thermometer at the thickest part of the meat, away from the rod and bone, to prevent false readings. Rotisserie and temperature control mean frequent monitoring. I use remote or leave-in thermometers with long probes to track temps without stopping the rotation, especially when testing new recipes for friends or family.
A thermometer gives precision and confidence that manual checks or guesswork can’t match, especially after years perfecting barbecue on my cart. For every creative BBQ experiment, temperature tracking guarantees moist, safe, and crowd-pleasing results.
Choosing the Right Thermometer for Rotisserie Use
Finding a thermometer that works reliably with a rotisserie gets results every barbecue fan wants: juicy, fully cooked meat. I test every thermometer I can get my hands on, especially when that rotisserie starts spinning.
Types of Thermometers Suitable for Rotisserie
- Leave-In Probe Thermometers: I use digital leave-in probes that run a cable outside the grill, like the ThermoWorks Smoke or Weber iGrill 2. These show real-time temperatures without needing the lid opened.
- Remote Wireless Thermometers: I try wireless models that pair with apps, including the MEATER Plus and TP-Link. These fit rotisserie setups where cables could tangle.
- Instant-Read Thermometers: I keep fast-read models like the Thermapen ONE or Lavatools Javelin to double-check at the thickest part if I’m finishing a cook.
- Rotisserie-Specific Probes: I test thermometers marketed for rotisserie use, such as grill probes with flexible cords or wireless rotisserie probes, for longer cooks.
Key Features to Look for
- High-Heat Resistance: I only pick probes and cables built to withstand temps above 500°F, since rotisserie grills run hot around the spit.
- Wireless or Long Cables: I prefer fully wireless models for true rotisserie freedom, though extra-long heatproof cables work if wireless isn’t an option.
- Strong Probe Attachments: I check each probe for solid insertion and secure fit, since a loose probe throws off accuracy and risks falling into the drip tray.
- Accurate and Fast Readouts: I measure how quickly the thermometer updates. Anything slower than 2-3 seconds risks bad readings as meat spins.
- App or Remote Monitoring: I recommend Bluetooth or WiFi models with smartphone connectivity, which show alerts for reaching target temperatures from outside.
- Easy to Clean: I select waterproof and grease-proof designs. Rotisserie cooking can spray juices everywhere, so cleanup matters after every cook.
Preparing Your Rotisserie for Accurate Temperature Reading
Proper thermometer setup on the rotisserie gives me perfect results every time. I make small adjustments for probe placement and wire management before the spit starts to spin.
Proper Placement of the Thermometer Probe
Correct probe placement ensures the thermometer measures the meat’s internal temperature, not the air or the heat source. I insert the probe tip into the thickest part of the protein, like the breast for chicken or the center of a roast, making sure it doesn’t touch bone, fat pockets, or the spit rod. Touching bone or metal skews readings by several degrees and hurts accuracy. For evenness, I double-check that the probe is perpendicular to the spit and secured so it doesn’t shift during rotation.
Securing Wires and Probes During Rotation
Secured wires and probes prevent tangling and inaccurate readings. I use heat-proof silicone bands or metal clips to attach cables along the spit rod, spacing out the slack but keeping wires tight against the rod so they don’t get caught or torn. When using wireless or remote thermometers, I keep the transmitter or display unit away from direct heat, usually hooking it onto my grill cart or nearby handle. Careful placement lets me monitor temperature changes immediately, even as the rotisserie turns. This setup keeps my hands free to focus on basting, seasoning, or prepping the next round of barbecue.
Essential Tips for Using a Thermometer with a Rotisserie
Using a thermometer with a rotisserie takes the guesswork out of grilling and helps lock in juiciness every time. I rely on these steps for consistently perfect results, especially when spinning chicken, pork loin, or prime rib.
Monitoring Internal Temperature Consistently
Keeping a close watch on the internal temperature with a thermometer ensures rotisserie meats like whole chickens, pork shoulders, and rib roasts come off at peak doneness. I insert the probe into the thickest section of the meat, steering clear of bone or large fat pockets to avoid false readings. With remote or leave-in thermometers, I check the digital display every 15-20 minutes, seeing real-time updates while staying hands-off. Carryover cooking adds 3–7°F (2–4°C) post-rotisserie, so I pull bigger cuts off about 5°F (3°C) before reaching my target to prevent overcooking.
Avoiding Common Mistakes and Pitfalls
Avoiding the most frequent thermometer errors gives more reliable barbecue results. I never position the probe tip against a rotisserie rod, as metal influences the reading and throws off accuracy. When meat spins, I make sure wires face outward and gently wrap or secure any loose cords with heatproof clips to prevent pinching or tangling. After every cook, I clean the thermometer probe with soapy water or sanitizing wipes to prevent grease build-up, which messes with accuracy and flavor. Skipping calibration is another slip; I test my thermometers occasionally using ice water (32°F/0°C) and boiling water (212°F/100°C) to spot any drift and stay confident in each reading.
These steps deliver juicy, perfectly temped meat whether I’m trying new brisket recipes or spinning classic rotisserie chicken on a lazy Sunday.
Cleaning and Maintaining Your Thermometer After Use
Immediate cleaning protects my thermometer from sticky drips and carbon buildup common in rotisserie sessions with ribs, brisket, or chicken. While the probe’s still warm, I wipe it down with a damp cloth and some dish soap, avoiding the display or electronic parts. For wireless or digital probes, I check manufacturer guidelines before rinsing. Submerging electronic units can cause malfunctions—fastest way to ruin a perfectly good tool.
Sanitizing the metal probe helps prevent cross-contamination. I use alcohol wipes or dip the cleaned tip in boiling water for a few seconds, especially after grilling poultry or pork. For foods like beef roasts, I stick with thorough hot-water cleaning and soap. Thermometers with detachable probes go into a soapy water bath, keeping cables and connections out of the mix.
Drying immediately after washing keeps the metal probe and wiring corrosion-free. I use a soft cloth or paper towel since air drying sometimes leaves water spots. Before storing, I inspect the cable for splits, burnt spots, or kinks—if the rotisserie spit pulled the cable tight, it can create weak points.
Recalibrating the thermometer once a month ensures reliability. I check calibration by inserting the probe into boiling water and comparing the reading against 212°F (100°C), adjusting if possible. Thermometers without manual calibration can signal problems if readings start drifting above or below expected temps—better to catch it now than midway through a brisket cook.
Proper storage keeps the thermometer working season after season. I coil wires loosely, tuck the unit in a dry spot, and store it inside my grill toolbox or kitchen drawer. Extra batteries or spare probes stay in labeled zip bags. With routine upkeep, my grilling thermometer works just as well for rotisserie pork shoulder as it does for evening steak sears, no matter how much smoke or grease comes its way.
Conclusion
Using a thermometer with a rotisserie really takes the guesswork out of cooking and lets me focus on flavor and texture. With a little practice and the right tools I’ve found that rotisserie meals can be both stress-free and consistently delicious.
I love knowing that every roast or chicken I make is juicy and safe to eat. Once I got comfortable with my thermometer and rotisserie setup I started looking forward to experimenting with new cuts and recipes. It’s a small step that makes a huge difference in my cooking confidence and results.


