
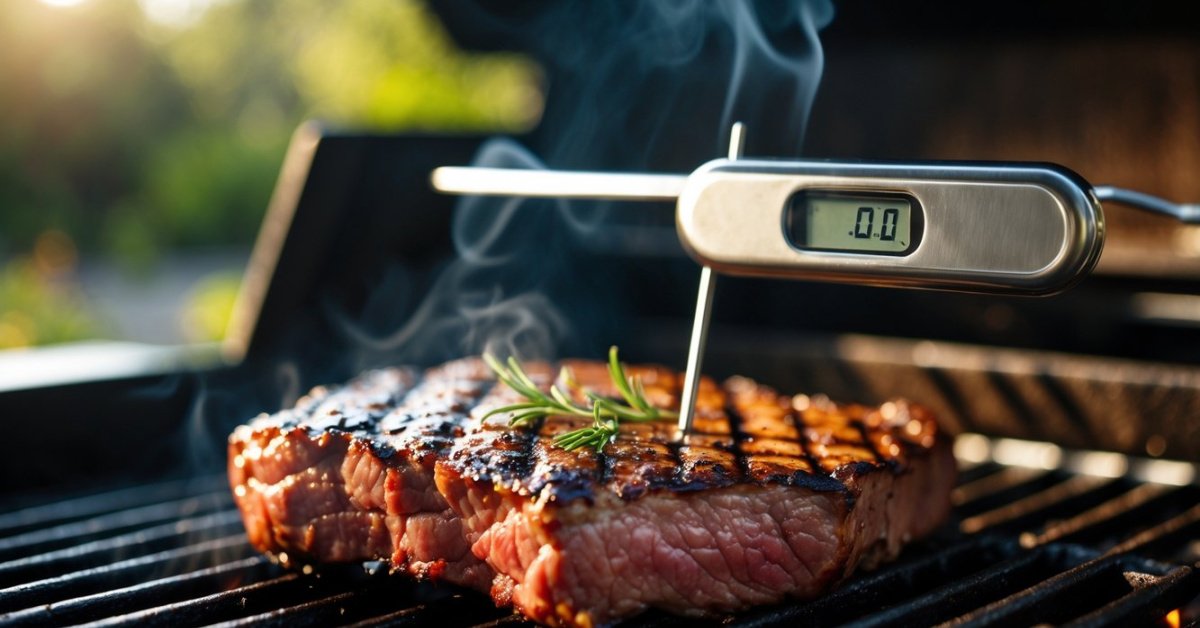
Grilling duck always feels like a treat but getting it just right can be tricky. I know how easy it is to overcook or undercook this flavorful bird and no one wants to ruin such a special meal. That’s where a reliable thermometer comes in—it’s my secret weapon for perfectly juicy duck every time.
When I first started grilling duck I had no idea how much a thermometer could change the game. It takes the guesswork out and lets me relax knowing dinner will come out exactly as I planned. If you want to impress your guests (or just yourself) with tender delicious duck let me show you how using a thermometer makes all the difference.
Choosing the Right Thermometer for Grilling Duck
Picking the right thermometer makes grilling duck straightforward and repeatable. After testing dozens of models from my bbq food cart days to my home trials, I focus on a few essentials.
Types of Thermometers
- Instant-read thermometers: I use these for quick temp checks on thicker duck breast or whole birds. Examples include the ThermoWorks Thermapen ONE and Lavatools Javelin PRO.
- Probe thermometers: I trust these for monitoring internal temps over time, especially for whole duck or when smoking. Models like the MEATER Plus and ThermoPro TP20 give real-time readings.
- Infrared thermometers: I grab this type to measure grill surface temps, not duck meat. Tools like the Etekcity Lasergrip deliver fast surface readings but can’t check doneness internally.
Features to Look For
- Accuracy: I pick models with ±1°F accuracy for precise duck cooking. Duck dries out fast if temps run high.
- Quick response time: I want readings in 2-3 seconds to keep grill heat steady and avoid overcooking.
- Long probe: I use at least a 4-inch probe for thicker duck pieces or whole birds.
- Backlit display: I grill plenty at dusk or after dark, so I need screens easy to read in low light.
- Temperature range: I work with thermometers that handle 32°F to 572°F, since duck grills at high and low temps.
- Water resistance: I pick water-resistant models since duck fat splatters and I’m often rinsing tools mid-cook.
Preparing the Duck for Grilling
Patting dry the duck skin
I always start by patting the skin dry with paper towels, pressing gently over the entire surface. Dry skin crisps up over high heat, if too much moisture remains.
Scoring the duck skin
I score the duck skin every 1 inch using a sharp knife, slicing just through the fat layer. Even scores help fat render evenly, if cuts go too deep, the meat dries out.
Seasoning the duck
I season both the cavity and the skin with kosher salt, black pepper, and garlic powder. Spices adhere better after drying and scoring, if skin’s still wet, seasoning slides off.
Trussing or spatchcocking the duck
I truss the legs with kitchen twine or spatchcock the bird by removing the backbone for quicker grilling. Trussed ducks cook evenly on rotisserie grills, if not secured, joints overcook.
Letting the duck come to room temp
I leave the prepared duck at room temperature for 30 minutes before grilling. Duck cooks more evenly at room temperature, if cooked straight from the fridge, meat might stay raw by the bone.
Connecting thermometer prep
I insert a grilling thermometer probe through the thickest part of the breast before placing the duck on the grill. The probe tip stays above the bone, if touching bone, readings can spike.
Step-by-Step Guide: How to Use a Thermometer for Grilling Duck
Using a thermometer helps lock in those juices while getting duck just right on the grill. I get reliable results and skip the second-guessing by following a few tried-and-true steps every time.
Inserting the Thermometer Correctly
Placement affects accuracy when grilling duck. I slide the thermometer probe into the thickest part of the duck breast, steering clear of bone and fat pockets. For whole grilled duck, I pierce deep into the breast since it cooks slower than the legs or wings. With thin breasts, I angle the probe sideways to reach the center. Inserting only the tip—about 1 inch—guarantees an even reading and prevents over-penetrating. I always use clean hands or tongs to insert the probe, keeping food safety top of mind and preserving crisp skin.
Monitoring Internal Temperature
Consistent monitoring controls doneness on the grill. I leave the probe in for continuous-check thermometers, glancing at the display while duck cooks over indirect heat. With instant-read thermometers, I remove the duck briefly and take a quick reading—less than 5 seconds—to avoid heat loss. I double-check at two or three spots for evenness, especially when cooking larger birds or if the grill has hot spots. I wipe the probe after each check, which protects flavors and prevents contamination.
Ideal Temperature for Perfectly Grilled Duck
Targeting the right temperature creates juicy, tender duck. I pull the duck from the grill when the internal temperature hits 135°F for medium-rare or up to 145°F for medium, as recommended by the USDA and culinary sources like Serious Eats. For crispy skin, I rest the duck uncovered for 10-15 minutes post-grill, ensuring juices redistribute without trapping steam. If I slice into the duck too soon, all those flavorful juices spill out—timing is key.
| Duck Doneness | Internal Temperature (°F) |
|---|---|
| Medium-Rare | 135 |
| Medium | 145 |
I check the chart above every time to keep each duck just as tender and flavorful as the last.
Common Mistakes to Avoid
- Ignoring Calibration
Thermometers lose accuracy over time. I always calibrate mine before grilling duck, since off readings can lead to overcooked or undercooked meat.
- Missing the Thickest Part
Probes sitting in thinner spots or right next to bone give false readings. I poke the thickest part of the breast, avoiding bones and large fat pockets every time.
- Checking Only One Spot
Duck breasts differ in thickness. I check the temperature in several areas, as relying on just one reading misses cold spots.
- Rushing the Rest
Juices leak out if you cut too soon. I let duck rest at least 10 minutes after grilling, monitoring its carryover heat with a thermometer for best texture and flavor.
- Inserting Probe Before Cooking
I avoid sticking thermometers in before grilling, since high heat can damage probes and affect readings. I insert after flipping or when near doneness.
- Trusting Old or Faulty Batteries
Low batteries cause screen glitches or slow responses. I check my thermometer’s batteries before every grill session to keep readings spot-on.
- Not Accounting for Carryover Cooking
Duck keeps cooking from residual heat after leaving the grill. I remove it 5°F below my target temperature, using the thermometer to watch the rise.
- Using Dirty Thermometers
Leftover residue affects probe accuracy. I always clean the probe before every use for consistent results.
Tips for Juicy and Flavorful Grilled Duck
- Start with high-quality, fresh duck
I pick ducks with plump breasts and yellowish skin, as these give the juiciest results during grilling.
- Dry the duck skin thoroughly before grilling
I pat the duck skin dry with paper towels before seasoning—excess moisture prevents crisping, making it hard to get that signature crackly skin.
- Score the skin carefully without cutting the meat
I use shallow cross-hatch cuts across the skin, stopping before the knife reaches the flesh—this step helps render fat evenly and lets more seasoning penetrate.
- Season generously with salt and bold spices
I rub coarse salt all over the duck, then add cracked black pepper and Chinese five spice for a savory, aromatic crust. Garlic powder and citrus zest also boost flavor if I’m feeling adventurous.
- Bring duck to room temperature first
I let the duck rest on the counter, covered, for around 30 minutes—meat at room temp cooks more evenly and absorbs smoke flavor better.
- Set up the grill for two-zone cooking
I arrange coals or burners for direct and indirect heat. Starting skin side down over indirect heat gives me crispy skin while preventing flareups.
- Monitor internal temperature closely
I insert my instant-read thermometer into the thickest part of the breast, aiming for 135°F for medium-rare or 145°F for medium, checking two or three spots for accuracy.
- Rest the duck after grilling
I tent the grilled duck loosely with foil and rest it for 10–15 minutes—juices redistribute, so every slice comes out moist.
- Carve against the grain for tenderness
I slice the breast across the muscle fibers, plating the meat with crispy skin facing up so juices and flavor stay locked in each bite.
- Add finishing touches before serving
I drizzle the carved meat with a quick pan sauce or brush it with a glaze—honey-orange or soy-ginger glazes deepen flavors and create a glossy finish.
These steps turn well-thermometered duck into a smoky, crowd-pleasing bbq dish every time.
Conclusion
Grilling duck doesn’t have to be intimidating when you’ve got the right tools and a bit of know-how. I’ve found that a good thermometer really takes the stress out of the process and lets me focus on enjoying the cookout.
With a little practice and attention to detail you’ll be serving up duck that’s juicy flavorful and cooked just the way you like it. Trust your thermometer and you’ll impress your guests every time.


