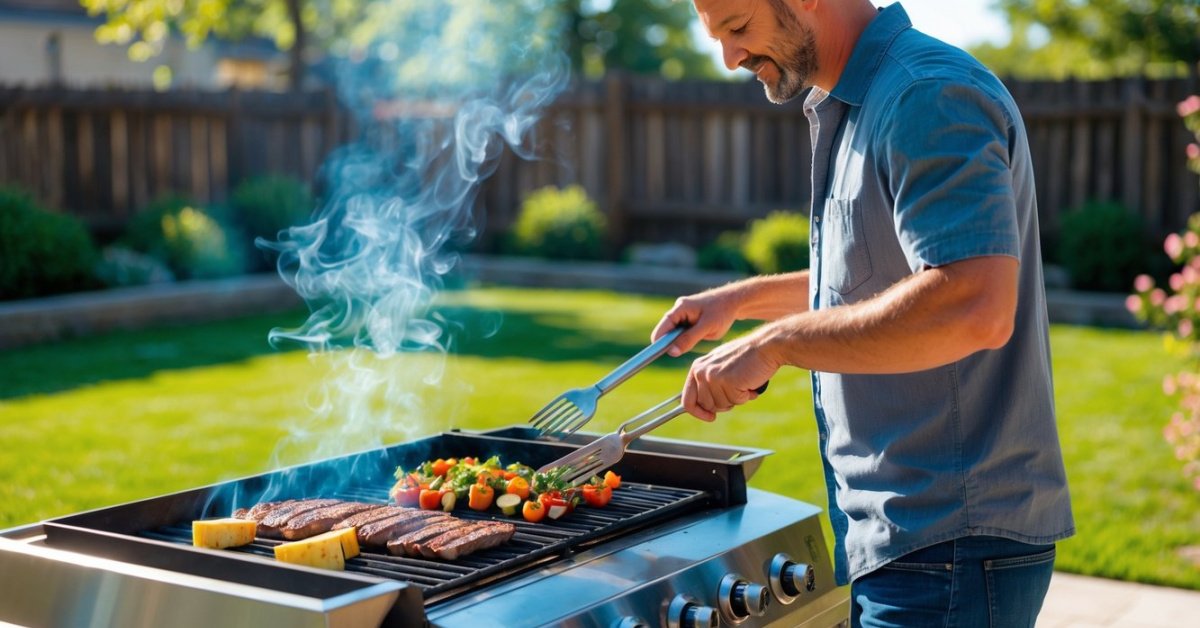
Nothing beats the sizzle of meat hitting a hot grill on a sunny afternoon. I love that moment when the aroma fills the air and everyone gathers around with anticipation. But I’ve learned that great grilling isn’t just about the right seasoning or perfect timing—it’s also about hitting the ideal temperature for every cut.
Whether I’m cooking up juicy burgers, tender steaks, or smoky chicken, knowing the right grilling temperatures makes all the difference. With a handy temperature chart, I never have to guess if my food is safe and delicious. Let’s make every grill session a success by mastering the temps for all types of meat.
Understanding Grilling Temperatures
Mastering grilling temperatures means knowing how heat affects different meats and using the right tools to measure it. I rely on digital and analog grilling thermometers to check internal temperatures because guessing leads to undercooked or overdone results. When I ran my Texas bbq cart, I tested dozens of thermometer brands and learned that even a few degrees can change the taste and texture of meat cuts like brisket, pork chops, and salmon fillets.
Recognizing specific temperature zones boosts juicy results. For example, I grill beef steaks to 130°F for medium-rare, chicken breasts to 165°F, and pork loin to 145°F. I always insert the probe into the thickest part of the meat and avoid bone contacts, since bones conduct heat faster than muscle and affect readings.
Monitoring both grill surface and internal meat temperatures with reliable thermometers creates consistency every time, whether I’m preparing burgers or slow-smoking ribs. This careful temperature control has helped me perfect everything from backyard burgers to competition brisket.
Why Using a Temperature Chart Matters
Relying on a grilling temperature chart ensures I hit the food safety sweet spot every time. Different meats, like ribeye, chicken thighs, and brisket, each have unique safe serving temperatures, backed by the USDA and FDA. Undercooking ground beef or poultry poses higher risks for foodborne illness, while overcooking strips away flavor and tenderness. I always check my temp chart before lighting up my grill, especially if I’m trying a new cut or recipe.
Accuracy matters most when playing with varied meats or thick cuts. Digital thermometers give me precise readings in seconds, while analog ones need a bit more skill to read but still work for seasoned grillers. Even in my food cart days, I found that a few degrees could mean the difference between repeat customers and bland disappointment.
Consistency builds confidence in grilling sessions. Using a temperature chart lets me focus on flavor layering, smoke, and technique, rather than guesswork. Friends always ask how I keep my pulled pork juicy or why each steak comes out just right—it’s all about following the chart and double-checking temps.
A solid temperature chart helps me adapt quickly to recipe changes or unfamiliar proteins like lamb or fish. Whether I’m handling delicate salmon or tough Texas brisket, the right target temps keep everything on track, letting me experiment without worry.
Grilling Temperature Chart for All Types of Meat
Grilling thermometers unlock perfect flavor in every meat, from juicy brisket to tender salmon. I rely on temperature charts and a solid thermometer for consistent, safe, and delicious results every time.
Beef and Veal Guidelines
Beef and veal reach their best texture and taste at specific internal temperatures. I grill steaks, burgers, and roasts with these numbers for accuracy:
| Doneness | Temperature (°F) | Examples |
|---|---|---|
| Rare | 120–125 | Ribeye, tenderloin |
| Medium Rare | 130–135 | Strip, filet mignon |
| Medium | 140–145 | Top sirloin, tri-tip |
| Medium Well | 150–155 | Flank, round |
| Well Done | 160+ | Brisket, ground beef |
Only ground beef needs to hit 160°F, per USDA guidelines, due to bacteria mixed inside during grinding.
Chicken and Turkey Recommendations
Chicken and turkey reach their safest and most flavorful state at well-tested temperatures. I always insert my digital thermometer into the thickest section to get a true reading:
| Bird Part | Temperature (°F) |
|---|---|
| Whole chicken or turkey | 165 |
| Breasts | 165 |
| Thighs, legs, wings | 175–180 |
| Ground poultry | 165 |
No pink should remain in the center for ground poultry or breasts after cooking.
Pork and Ham Temperatures
Pork gives the juiciest bites at 145°F with a three-minute rest, and I never go higher for lean cuts. Cured and ground pork ask for higher temps for food safety:
| Cut/Type | Temperature (°F) | Notes |
|---|---|---|
| Pork chops/tenderloin | 145 (rest 3 min) | Juicy, slightly pink |
| Ground pork/sausage | 160 | Firm, fully cooked |
| Precooked ham | 140 | Just warmed through |
| Fresh ham | 145 (rest 3 min) | Moist, safe |
Fish and Seafood Cooking Points
Fish and seafood need gentle precision at the grill. I watch for translucency to turn opaque, and let my thermometer confirm doneness:
| Type | Temperature (°F) | Doneness Sign |
|---|---|---|
| Fish fillets | 145 | Flakes with fork |
| Shrimp/scallops | 145 | Opaque, firm |
| Lobster/crab | 145 | Shell red, flesh firm |
Undercooked fish risks parasites, while overcooking dries fillets.
Lamb and Game Meat Suggestions
Lamb and game meats like venison or elk respond well to slightly lower temperatures and a rest after grilling:
| Doneness | Temperature (°F) | Examples |
|---|---|---|
| Rare | 125–130 | Lamb rack, venison tenderloin |
| Medium Rare | 130–135 | Lamb chops, elk steaks |
| Medium | 135–145 | Leg of lamb, duck breast |
| Well Done | 155+ | Bear, tougher game cuts |
Resting lamb or game for 5 minutes redistributes juices and locks in flavor.
I use these grilling temperature charts every time I test a new thermometer or tackle a new recipe. Each update to my process lets me dial in results, whether I’m slow-smoking Texas brisket or searing delicate shrimp on a backyard grill.
Tips for Accurate Temperature Measurement
Selecting the Right Thermometer
I always use a digital instant-read thermometer for quick and precise temperature checks since it responds in 2–4 seconds. For larger cuts of meat like brisket and pork shoulder, I prefer leave-in probe thermometers because they give constant readings throughout the cook. Analog dial thermometers work for experienced grillers but often lag by 15–30 seconds and can lead to overcooking thinner cuts, such as chicken breasts or salmon.
Inserting the Thermometer Properly
I insert the thermometer into the thickest part of the meat, away from bone, fat, or gristle. Placement matters: for steak and chicken breast, I insert horizontally from the side for the most accurate read. For whole birds or roasts, I target the center of the breast or thigh, always avoiding bones, since bones heat faster and give false high readings.
Monitoring Temperature Fluctuations
I check the temperature in more than one spot on larger cuts, like turkeys or roasts, since heat doesn’t always distribute evenly. If one section reads 10–15°F lower than others, I let the meat rest until the coolest part reaches the target temperature from the grilling chart, improving both safety and flavor.
Avoiding Common Mistakes
I avoid checking temperatures too early since juices can escape and stall the cook, especially on ribs or burgers. I also sanitize my thermometer after every use to prevent cross-contamination between meats—for example, when grilling chicken and pork together.
Factoring in Carryover Cooking
I pull cuts like steaks or pork chops off the grill 3–5°F below the target chart temperature because carryover cooking raises the internal temp while resting. This small gap keeps the meat juicy and prevents overcooking, especially with high-heat grilling sessions.
Temperature Measurement Comparison Table
| Thermometer Type | Response Time (seconds) | Best Use Cases | Example |
|---|---|---|---|
| Digital Instant-Read | 2-4 | Thin cuts, burgers, fish, chicken | ThermoWorks Thermapen |
| Leave-In Probe | Continuous | Roasts, briskets, pork shoulder | MEATER, ThermoPro TP20 |
| Analog Dial | 15-30 | Experienced grilling, thicker cuts | Taylor 6092N |
Common Grilling Mistakes to Avoid
Skipping Preheating
Preheating the grill ensures even heat, which helps meats like ribeye steaks or chicken thighs sear properly. Uneven cooking often occurs when I skip this step, especially with thicker cuts.
Guessing Instead of Measuring
Relying on looks or touch instead of a thermometer leads to inconsistent results. I always use digital or analog grilling thermometers like the ThermoWorks Thermapen ONE or Maverick Pro-Temp to hit proper doneness, especially for pork chops, burgers, and brisket.
Opening the Lid Too Often
Opening the grill lid repeatedly causes heat loss and longer cook times. Each time I check on ribs or fish fillets without a purpose, I drop the temperature by up to 50°F, which affects cook consistency and texture.
Neglecting Carryover Cooking
Meats like tri-tip or whole chicken continue to rise in temperature after coming off the grill. Overcooking happens when I forget to pull items off a few degrees below their final target, missing out on optimal juiciness and tenderness.
Applying Sauce Too Early
Sugary sauces or glazes like barbecue sauce burn quickly at high temperatures. When I add them before the last few minutes on the grill, I get burnt outsides and bitter flavors on spare ribs or wings.
Using Dirty or Unseasoned Grates
Dirty or unseasoned grates affect grill marks and cause sticking for items like salmon fillets or lamb chops. Consistently cleaning and oiling my grates using a grill brush or a cloth with canola oil improves sear and prevents sticking.
Overcrowding the Grill
Crowding the cooking surface blocks air flow, causing uneven heat distribution. I leave at least 1–2 inches between steaks, sausages, or skewers on my grill, which improves heat circulation and delivers better browning.
Ignoring Rest Time
Meats like pork loin or sirloin steak need a rest period after grilling. Cutting in right away lets valuable juices escape, so I rest most cuts for 5–10 minutes loosely tented with foil.
Following these tips, I minimize errors and get consistent, flavorful barbecue, whether I’m testing new thermometer models or grilling up classics on any grill.
Conclusion
Grilling’s always been about more than just heat and smoke for me—it’s about confidence and creativity. With a reliable temperature chart and the right tools in hand, I can relax and enjoy the process, knowing every cut of meat will turn out just right.
The more I practice and pay attention to temperatures, the more I notice the little details that make a big difference. Every successful cookout builds my skills and makes grilling even more rewarding. Happy grilling!


