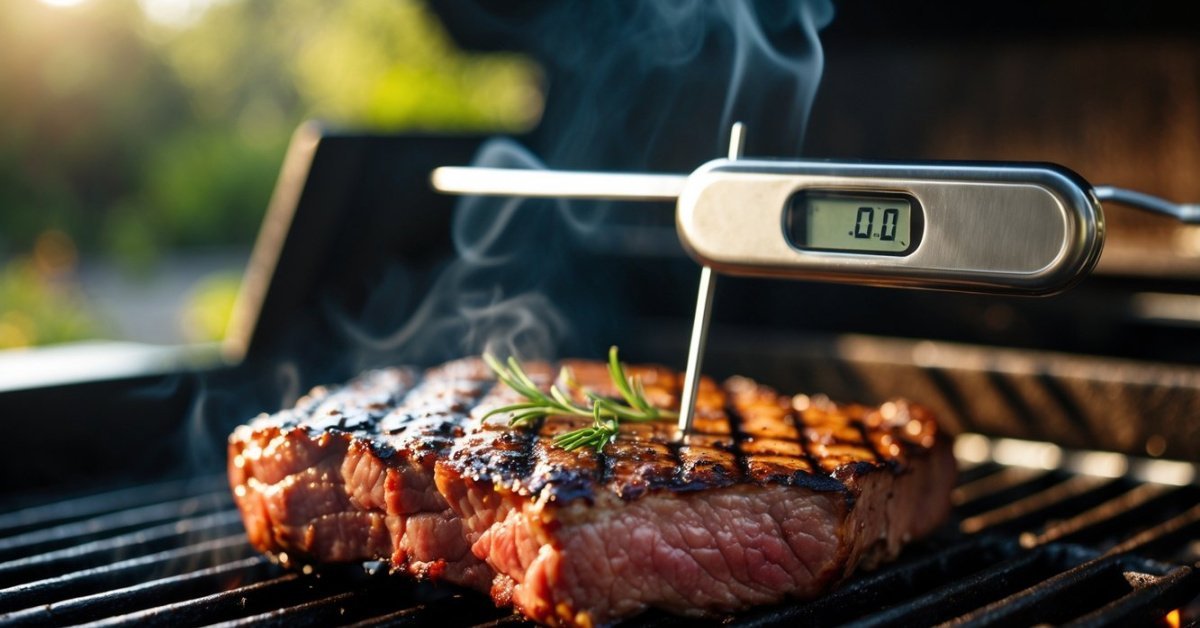
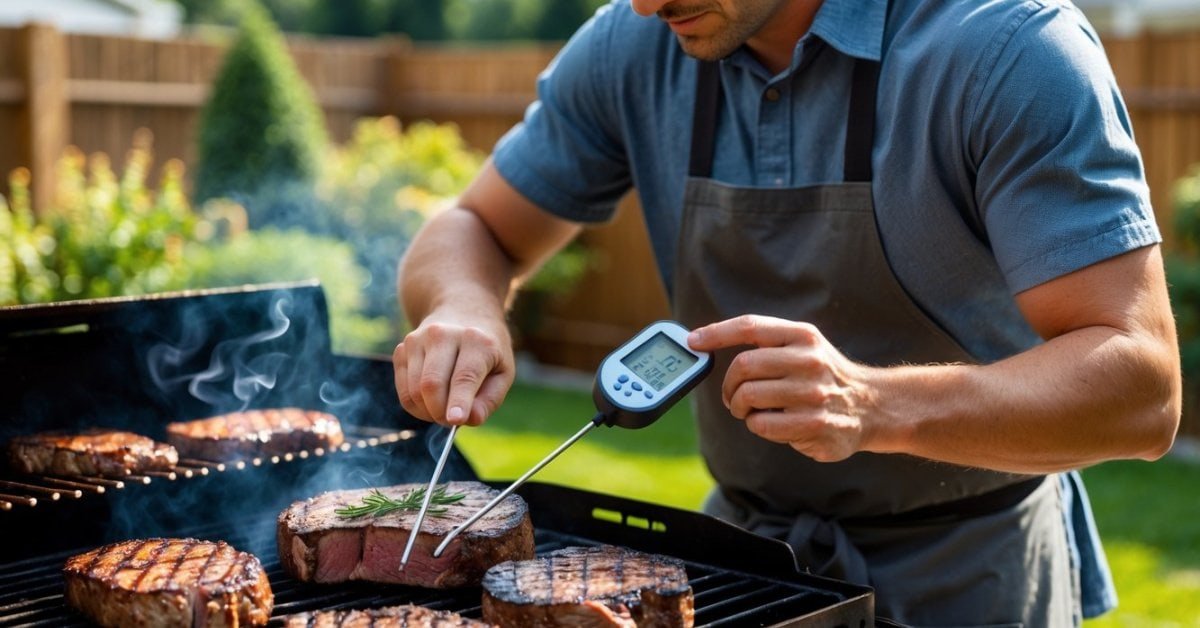
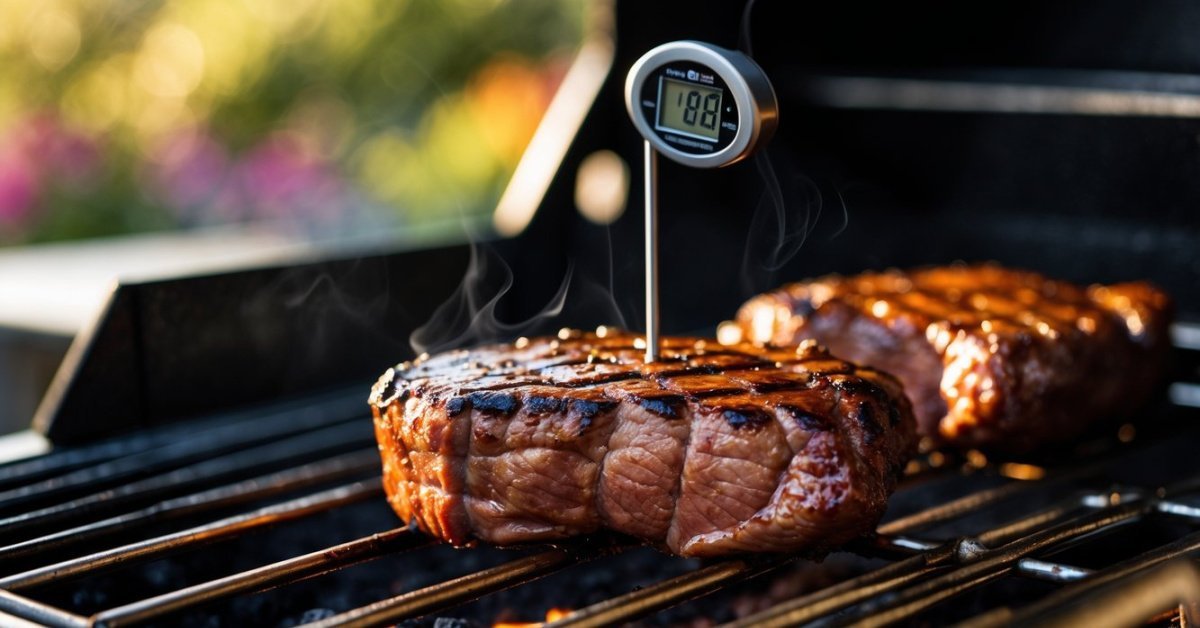
When I fire up my grill for a backyard barbecue, I want everything to turn out just right. Getting the perfect sear or juicy center depends on hitting the right temperature, and that’s where my infrared thermometer comes in handy. It’s a simple tool, but using it on a hot grill isn’t always as straightforward as it seems.
I’ve learned that a few small tricks make a big difference when checking grill temps with an infrared thermometer. With a little know-how, I can avoid common mistakes and make sure my steaks, burgers, and veggies cook evenly every time.
Understanding Infrared Thermometers for Grilling
Infrared thermometers let me measure grill surface temperatures instantly, no matter how hot the fire’s burning. These handheld tools use sensors to detect infrared energy emitted by surfaces like grill grates or pizza stones. I just aim the laser, squeeze the trigger, and get digital readouts in seconds—no contact, no waiting.
Most models I test can read between -58°F and 1,022°F, which covers charcoal, gas, pellet, and wood-fired grills. I count on fast response times (usually under 1 second) when checking if the grates reach searing heat for steak or steady low temps for slow-cooked brisket.
I’ve found grill surface temps often differ from air or dome thermometers by 75°F to 150°F. If I’m aiming for perfect browning on ribs or chicken wings, grill surface readings matter more than air temp. Instant feedback lets me find hot spots, cooler zones, and dial in placement for each cut of meat or veggie.
Emissivity describes how well a surface emits infrared energy. Most grill surfaces have high emissivity (above 0.90), so readings stay accurate on clean cast iron or steel grates. Lower readings can show up on greasy or shiny surfaces, so I clean my grill before taking measurements for the best results.
Infrared thermometers work best for quickly checking preheat temperatures, managing multiple cooking zones, or making sure pizza stones are ready for baking. When I help friends set up their first smoke session, I always recommend pairing this tool with a leave-in probe for meat—the surface temp tells me when to start, while the probe tracks whether the pork butt hits target doneness.
Preparing Your Grill for Accurate Temperature Readings
Infrared thermometers give precise surface temperatures, but accuracy depends on proper grill prep. I always start with a clean, preheated grill before testing any thermometer or recipe.
Cleaning the Grill Surface
Residue and debris on grates cause inaccurate readings. I brush my grill grates thoroughly with a sturdy grill brush while they’re still warm, but not blazing hot. Buildup from sauces, fats, and old food—like charred rib tips or grease drippings—reduces emissivity and reflects the IR beam, leading to lower or inconsistent readings. For stubborn spots, I use a damp cloth or grill-safe scraper. This quick cleaning ensures a direct, reliable measurement of the actual grilling surface.
Allowing the Grill to Reach Temperature
Surface temperatures fluctuate as grills heat up. I always let the grill preheat fully with the lid closed. For charcoal grills, I wait until all coals are covered in white ash—usually about 15–20 minutes. For my gas grill, I preheat on high for at least 10–15 minutes. Checking too early, before the surface stabilizes, gives inaccurate readings since some areas heat faster than others. Once the grill hits target temp (typically 400–450°F for searing steak), I take multiple spot checks across the grate to confirm even heat before cooking anything important.
Best Practices for Using an Infrared Thermometer on a Hot Grill
I always follow some key steps when using my infrared thermometer on a hot grill to get the most accurate readings for perfect BBQ. Applying the right techniques means I can dial in surface temps for searing brisket, chicken, or veggies every time.
Maintaining the Proper Distance
Holding the thermometer at the correct distance from the grill surface provides accurate readings. Most infrared thermometers use a distance-to-spot ratio—mine, for example, reads a 1-inch circle when held about 12 inches away. I always check my device’s manual for the exact range, since holding it too close or too far skews the measurements. Keeping a steady hand and measuring at the recommended distance helps me avoid false high or low readings.
Measuring Multiple Spots
Checking temperatures across different grill areas solves issues with uneven heating. Hot spots form fast on charcoal, gas, or pellet grills—I scan at least three to four zones, including the middle and corners. For example, I often find my grill’s left side runs about 20°F hotter than the right. Multiple checks help me position steaks and chicken for optimal browning or indirect cooking. I jot down readings if I’m testing a new grill or recipe.
Avoiding Reflections and Flare-Ups
Steering clear of grill flare-ups, shiny grates, or direct flames ensures reliable surface readings. Reflective stainless steel grates, for instance, bounce the infrared beam and lower the thermometer’s accuracy. I target blackened or matte areas of the grate, since those absorb and radiate heat best. If grease drips trigger a flare-up, I wait for it to settle before taking another reading. These habits let me lock in cooking zones for consistent results, from brisket to burgers.
Common Mistakes to Avoid
- Relying on One Reading
I measure several spots across the grill since heat often distributes unevenly. If I only check one area, cooler or extra-hot zones, like those over burners or near corners, can throw off my cooking times.
- Ignoring Grill Surface Cleanliness
I always clean the grates before taking readings. If I skip this, grease or food residue blocks accurate infrared readings, giving me false numbers that affect how my food cooks.
- Holding the Thermometer Too Far or Too Close
I check the user manual for the recommended distance-to-spot ratio—usually around 12-18 inches for most models I’ve tested. If I hold it too far, I might scan a bigger area than intended; if I’m too close, I risk damage from flare-ups and might only get a small, possibly unrepresentative surface reading.
- Overlooking Reflections and Shiny Surfaces
I avoid shiny, reflective grill surfaces when I use my infrared thermometer. These surfaces reflect infrared light, so readings can be inaccurate compared to dull, blackened grill spots.
- Disregarding Emissivity Settings
I set the emissivity as close to 0.95 as possible for grill surfaces unless my thermometer has a fixed setting. Most blackened iron or cast grill grates work best with high emissivity. If I skip this, I get unreliable temperatures that impact my consistency.
- Using Only an Infrared Thermometer for Meat
I never trust surface measurements alone when I check doneness. I always pair my infrared thermometer readings with a leave-in probe or instant-read, since they measure internal meat temperatures. If I depend on infrared only, undercooked or overcooked food often results.
- Taking Readings During Flare-ups
I avoid scanning when flames shoot up, since this inflates my readings. Flare-ups create artificially high surface temperatures that don’t reflect actual grill or cooking conditions.
These mistakes directly impact how reliable my temperature readings are and how well my BBQ comes out every time.
Maximizing Cooking Results with an Infrared Thermometer
Exact grill surface temperatures deliver consistently delicious results. I check several spots on the grill with my infrared thermometer before adding food, since hot and cool zones can develop even on premium grills. On a typical offset smoker, for example, the firebox end often runs 40-60°F hotter than the far end. Consistency across the grate helps avoid tough brisket edges or unevenly seared steaks.
Target temperature zones help match grill heat to the recipe. For thin cuts like chicken breast or shrimp, I aim for surface temps between 400-450°F, which sears quickly without drying out the meat. When I cook ribs or pork shoulder low and slow, I look for 225-275°F across the indirect area of my grill. Surface temp readings work best if I align them with my planned cook time and protein thickness.
Rapid temp feedback speeds up grill adjustments. I spot-check grates with my infrared thermometer after opening the lid for basting or flipping. Efficient recovery time limits heat loss, which is critical for thick burger patties or multiple steak batches. Fast feedback keeps temperatures steady, even if the wind or flame pattern shifts.
Real-time temp checks improve grill control on different materials. Cast iron, stainless steel, and porcelain-coated grates heat and cool differently. I use my infrared thermometer to identify hot spots on each cooking grate before those wide Texas beef ribs hit the grill. Monitoring differences lets me rotate food as needed, avoiding burned or undercooked sections.
Cross-checking with a leave-in meat probe guarantees food safety and doneness. I quickly scan the grill with my infrared thermometer, then insert a digital probe in thick cuts for final checks. Combining surface and internal temperatures every cook supports safe, juicy, and perfectly finished meat.
Accurate surface measurements establish baselines for recipe consistency. I always record my preferred temperature settings for favorite recipes, like smoked turkey legs or reverse-seared tri-tip. Comparing readings over time helps me replicate those unbeatable Texas bbq results, whether I’m using an old-school kettle or a high-end pellet smoker.
Conclusion
Mastering an infrared thermometer has really changed the way I grill. It’s become one of my favorite tools for nailing those perfect sear marks and juicy centers. With a little practice and attention to the details, I’ve found it’s much easier to get reliable results every time I fire up the grill.
If you haven’t tried using one yet, I highly recommend giving it a shot. You might be surprised at just how much control and confidence it can bring to your backyard BBQs. Happy grilling!

