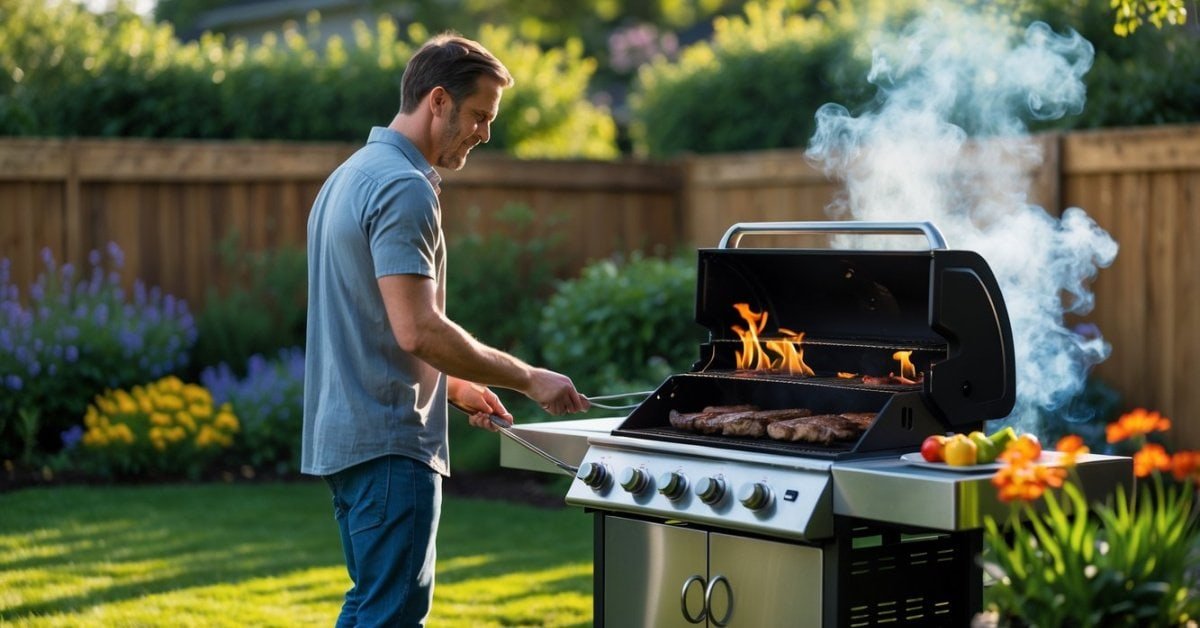
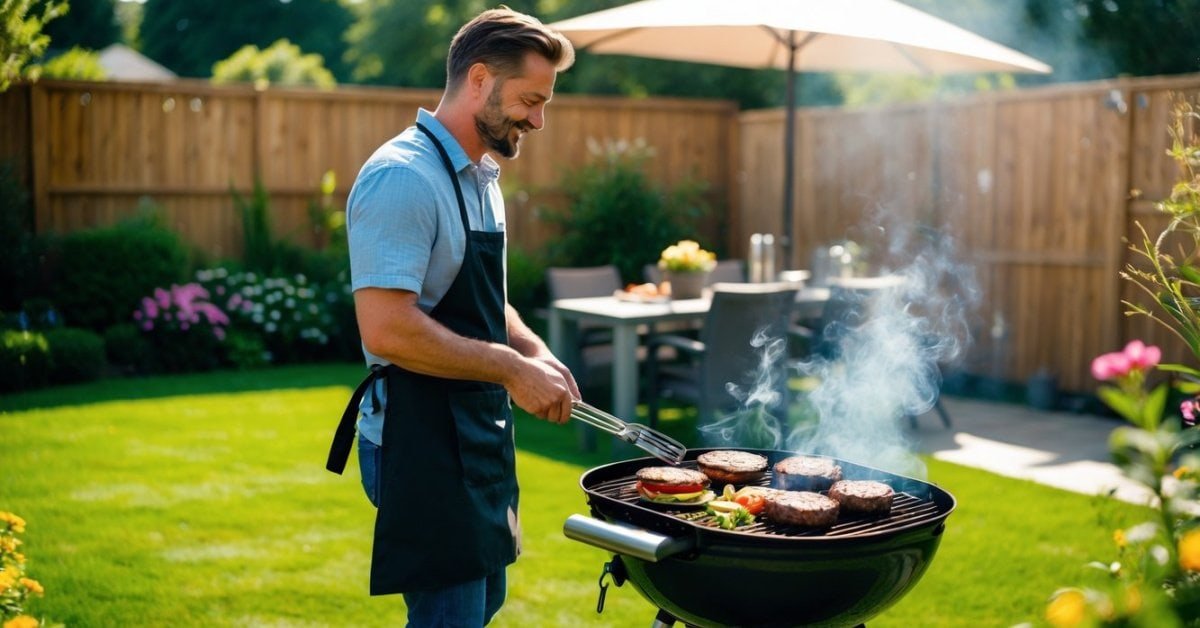
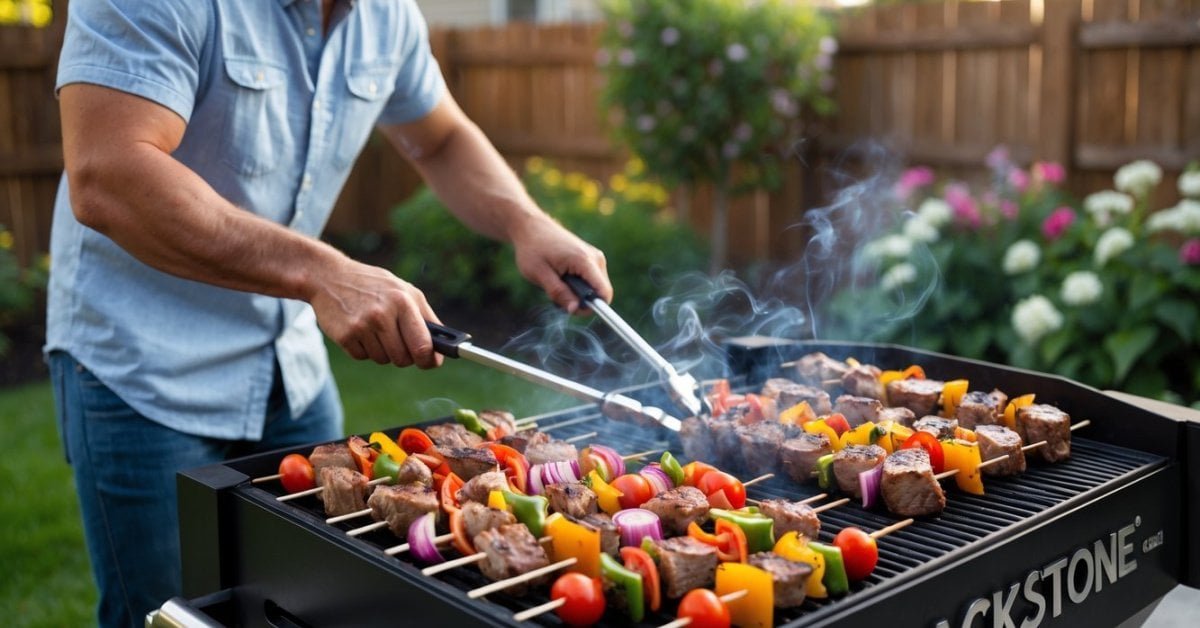
Whenever I fire up my kamado grill, I know that getting the temperature just right makes all the difference. Whether I’m aiming for a perfect sear on steaks or slow-smoking a brisket, keeping an eye on the heat is key to delicious results. That’s where a good thermometer steps in—it takes the guesswork out of grilling.
I’ve learned that using a thermometer with a kamado grill isn’t just about sticking it in and hoping for the best. There’s a bit of technique involved, and once I got the hang of it, my cooks turned out way more consistent. If you want to master your kamado and impress your guests, understanding how to use a thermometer is a must.
Understanding the Importance of Temperature Control in Kamado Grills
Precise temperature control keeps kamado grills consistent across smoking, roasting, and searing recipes. Different proteins—like brisket, ribs, and chicken—require specific internal temps for texture and safety. When my Texas food cart served big crowds, I relied on calibrated grill thermometers to avoid undercooked or dried-out meats.
Heat management determines flavor and moisture in kamado grilling. Low and slow cooks for pork shoulders and brisket need stable temps, usually around 225°F, for tender results. Searing steaks or veggies at 500°F or higher creates that signature char. Every time I grill, I check temps at grate level and inside the meat. I’ve tested digital and analog models on dozens of kamados; accuracy makes the biggest difference in how food turns out.
Thermometer readings guide vent adjustments. When grill temps rise above the recipe range, closing vents brings temps down. When the temp drops, opening vents lets in more oxygen. Stable temperature zones in a kamado grill keep the smoke flavor balanced. Using a reliable thermometer, I adjust airflow in small increments on every cook.
Here’s why thermometer use matters for kamado grills:
- Consistent Results: Matching grill temp to recipe targets locks in flavor and tenderness—essential for brisket and ribs.
- Food Safety: Measured heat keeps chicken, pork, and other proteins safe to eat by reaching FDA-recommended temps.
- Fuel Efficiency: Stable temps cut down on wasted lump charcoal and speed up cook times.
- Recipe Versatility: Accurate temp checks let me shift from grilling steaks at high heat to baking pizzas, bread, and desserts at controlled lower temps.
Each time I try a new thermometer on my kamado, I look for quick response and pinpoint readings. When the temp stays right where I want it, the results taste just like my food cart days in Texas.
Types of Thermometers for Kamado Grills
Grilling on a kamado grill relies on using the right thermometer for each situation. I’ve tested many types while running my Texas bbq cart and during home cooks, each one impacting results with its own strengths.
Built-In vs. External Thermometers
Built-in thermometers come mounted on most kamado grill lids. These units track air temperature inside the dome, and I often use them for a quick check of the overall heat zone. They help track indirect heat but don’t show exactly what’s happening at the grate. External thermometers offer greater control by letting me monitor either grill grate temp or food internal temp, depending on placement. Probe (wired) units and wireless sensors, for example, can sit right at the grate or deep in a brisket for live readings.
Digital vs. Analog Thermometers
Digital thermometers deliver rapid, precise readings—often within seconds—and usually display results in both Fahrenheit and Celsius. Single- and dual-probe digital models, like the ThermoWorks Smoke or ThermoPro TP20, allow me to track multiple points on cooks longer than 45 minutes, such as pork shoulder or brisket. Analog thermometers rely on a dial and bimetal spring for results. While they’re classic and require no batteries, I notice they react more slowly and sometimes need recalibration after heavy grilling cycles. For pit-style cooking or quick checks during searing, I grab my instant-read digital probe every time.
Step-By-Step Guide: How to Use a Thermometer with a Kamado Grill
Efficient thermometer use unlocks the full potential of a kamado grill. I keep my process simple for both busy food service days and backyard experiments.
Preparing Your Kamado Grill
Start by ensuring the kamado grill is debris-free and dry; leftover ash or moisture distorts heat flow and thermometer readings. Ignite charcoal evenly with a starter cube or chimney for uniform fuel distribution. Once coals burn steady and draw a thin blue smoke, arrange them based on the cook—banked for two-zone, even for low-and-slow. Finally, dial bottom and top vents to reach your target temperature, confirming airflow before inserting any thermometer. Consistent prep means trustworthy readings every session.
Proper Placement of the Thermometer
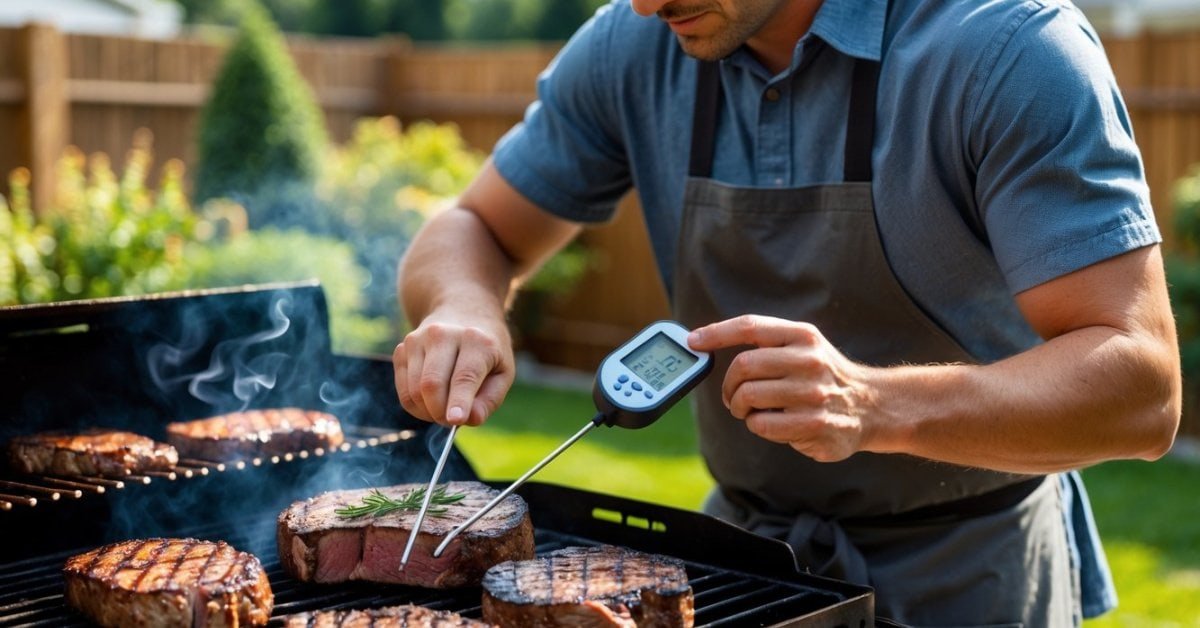
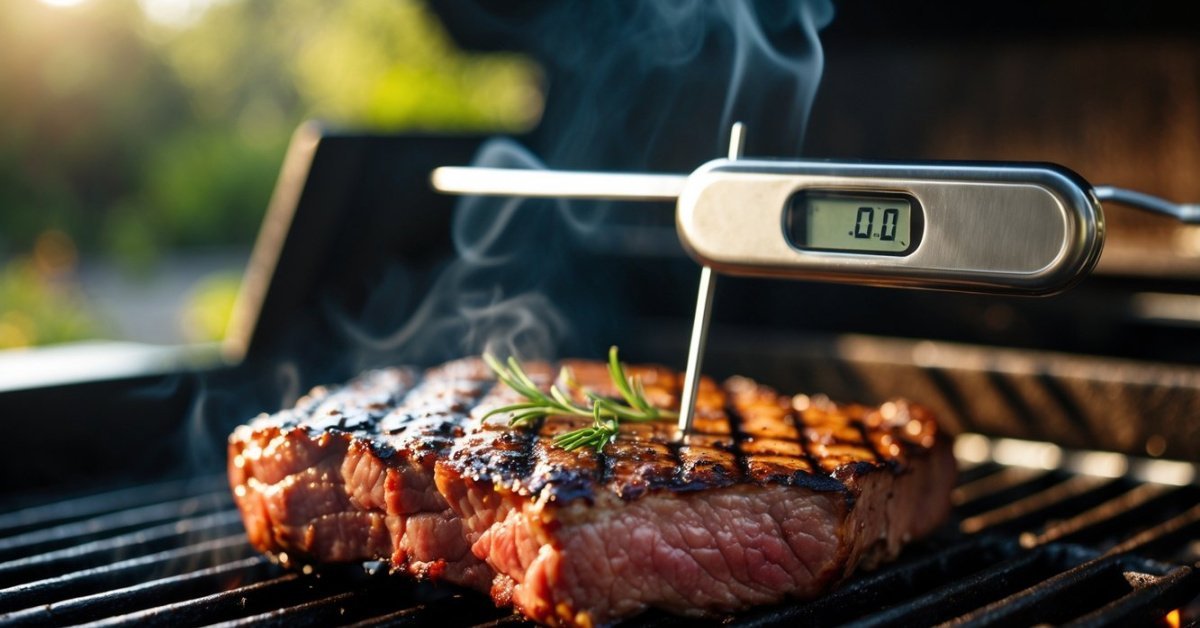
Placement directly affects thermometer accuracy and results—I’ve tested each method on brisket, ribs, and chicken. For grill temperature, set a probe or clip-on thermometer at the grate level, right next to the food but not touching metal; this gives true cooking conditions, unlike lid thermometers that sit inches above. For internal food temps, insert the probe into the thickest part of the protein—avoid bone or fat pockets to prevent false spikes. Running a food cart taught me that checking in multiple spots, especially with large cuts, prevents surprises at serving time.
Monitoring Temperature During Cooking
Maintaining correct temperatures during cooking is crucial; I rely on real-time monitoring for consistent doneness. Check grill and food readings every 15–30 minutes with a digital thermometer for brisket or pork shoulder, or every 5–10 minutes for steaks or thin cuts. Record temp fluctuations and adjust vents modestly—wider to raise, tighter to lower. Compare thermometer data at various grill spots for bigger cooks to detect hot zones. When using a multi-probe digital thermometer, I assign one probe to ambient grate temperature and others to individual proteins. This approach yields steady, predictable results whether I’m searing steaks for friends or slow-roasting ribs for family gatherings.
Tips for Accurate Temperature Readings
Reliable temperature readings make all the difference when I’m working with a kamado grill. Small errors can lead to overcooked brisket, rubbery chicken, or missed smoke flavor, so I always focus on accuracy.
Avoiding Common Mistakes
Avoiding placement errors improves thermometer accuracy with kamado grills. I never let the probe rest on grates, bone, or fat pockets since these spots give false readings; instead, I target the thickest, center area of the meat. Closing the kamado lid quickly after checking temps keeps temperature swings minimal. Consistent probe depth matters—when grilling steaks or chops, I insert the probe at least halfway into the thickest part. Relying only on the built-in dome thermometer often leads to unexpected results, as I’ve found readings can differ by up to 25°F compared to grate level. Ensuring proper cable routing keeps wires away from direct flames, which can melt insulation and ruin readings.
Calibrating Your Thermometer
Calibrating thermometers ensures accurate readings every session. I test my probe’s accuracy with the ice water and boiling water methods: it should read 32°F in ice water and 212°F in boiling water at sea level. For analog models, I recalibrate by adjusting the nut behind the dial until the thermometer reflects these baseline temps. Digital probes sometimes require a reset sequence, which I double-check in the manual for each new model. I check calibration before long cooks like brisket or pork shoulder; it’s saved me from hours of uncertainty more than once. Reliable calibration lets me trust every reading at the grill, giving my recipes the best shot at true Texas BBQ texture and flavor.
Maintaining and Caring for Your Grill Thermometer
I always keep my grill thermometers in top shape because reliable temperature control depends on accuracy. I’ve found regular cleaning, careful storage, and routine calibration keep every probe and dial working like new.
- Cleaning After Each Cook
I clean each thermometer probe with a damp cloth or alcohol wipe after every use, avoiding harsh chemicals that can damage sensors. Grease and residue, especially from long cooks, build up fast and lead to false readings if I let them sit.
- Storing Safely Between Uses
I store digital thermometers in a dry drawer or case, keeping probes untangled and cords coiled loosely. For dial thermometers, I keep them upright and protected from knocks inside my grill cabinet.
- Calibrating Regularly
I test calibration every month by checking readings in ice water (32°F / 0°C) and boiling water (212°F / 100°C at sea level). I adjust calibration screws on dial models or reset digital ones per manufacturer instructions if readings drift.
- Preventing Moisture Damage
I never submerge digital components; I wipe them down gently instead. Probes dry fully before storage to prevent internal corrosion and screen fogging.
- Replacing Worn Components
I replace probes if they show frayed cables, corrosion, or slow response times. In my Texas food cart days, I learned fast that bad probes throw off entire cooks.
Routine care means every thermometer I test or trust gives me the accurate, fast readings that make grilling for friends and family a joy.
Conclusion
Mastering a thermometer with your kamado grill really opens up a new world of BBQ possibilities. I’ve found that a little extra attention to temperature can make the difference between good and unforgettable meals. With the right habits and tools you’ll find yourself grilling with more confidence and enjoying the process even more.
If you stick with it and keep refining your technique you’ll soon be turning out perfectly cooked meats that’ll have everyone coming back for seconds. Happy grilling!

