
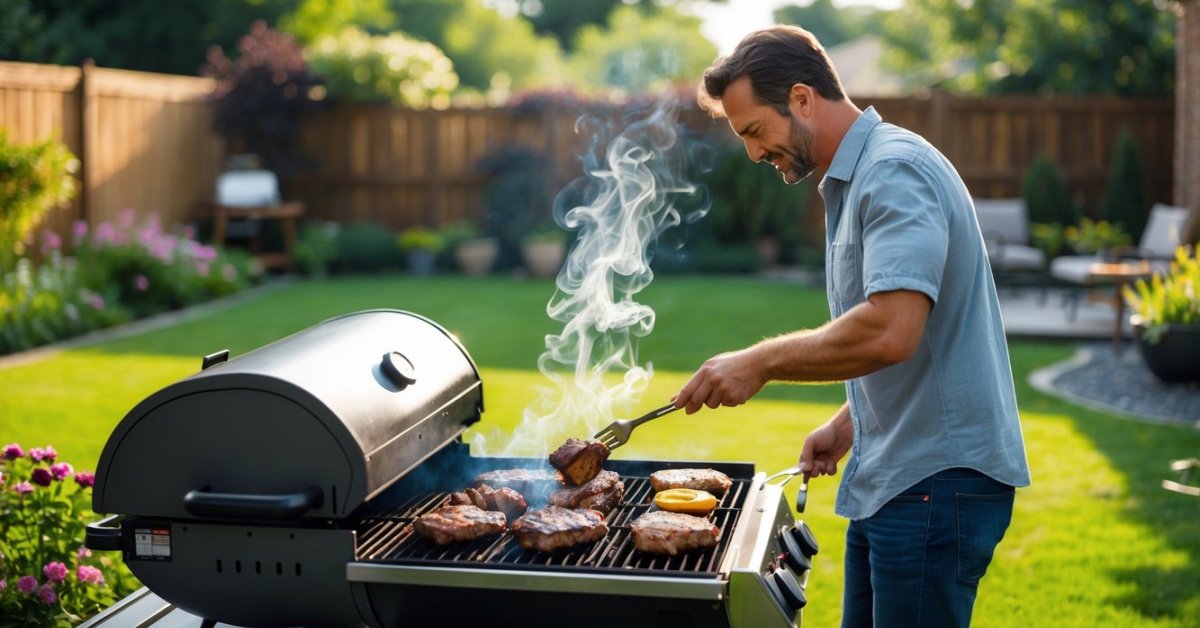
Grilling kebabs always feels like a celebration to me. The sizzle of meat and veggies over an open flame promises a meal that’s both delicious and fun to share. But nothing ruins the excitement faster than biting into a kebab that’s undercooked or dried out.
I’ve learned that using a thermometer is the secret to perfect kebabs every time. It’s a simple tool that takes the guesswork out of grilling and helps me serve up juicy skewers with confidence. If you want to impress your guests and enjoy stress-free cookouts, mastering the thermometer is a game changer.
Understanding the Importance of Temperature Control in Grilling Kebabs
Consistent temperature control defines successful kebab grilling. In my years running a Texas bbq food cart, I learned early that even a few degrees can separate juicy, crowd-pleasing skewers from disappointing, dried-out bites. Meat proteins—chicken, beef, lamb, and pork, for example—each cook differently, and the ideal internal temperature guarantees flavor and food safety.
Undercooked kebabs sometimes look done on the outside but stay raw at the center, especially with thicker chunks or mixed-ingredient skewers. Precise temperature checks stop those cold spots before someone bites in. Overcooked kebabs, on the other hand, quickly turn chewy, especially when I use lean meats like chicken breast or pork tenderloin. Monitoring temperature with a reliable thermometer lets me lock in juices every time.
Every time I try out a new grilling thermometer, I focus on how quickly and accurately it reads when the kebab hits its target temp. According to USDA guidelines, chicken needs to reach 165°F, while beef and lamb can be enjoyed starting at 145°F if you want medium-rare results (source: USDA Food Safety and Inspection Service). Using a thermometer keeps me in the perfect zone, combining both food safety and best texture.
When family and friends gather for a cookout, I rely on my thermometer to manage different grilling zones—hot, medium, indirect heat—so skewers finish evenly. Direct management of temperature helps avoid burned peppers or charred onions before the meat gets done. This kind of control turns every kebab session into a more relaxed, enjoyable experience where everyone bites into skewers cooked just the way they like them.
Types of Thermometers Suitable for Grilling Kebabs
Different thermometers bring unique advantages to kebab grilling. I’ve tested every style while running my Texas bbq cart and experimenting with backyard recipes.
Instant-Read Thermometers
Instant-read thermometers check kebab doneness in seconds. I use these right before lifting skewers from the grates. Popular models like the ThermoWorks Thermapen or Lavatools Javelin give accurate temps in 2 to 4 seconds. Their thin probes and digital displays help me avoid overcooking chicken thighs or lamb. I recommend instant-read types for folks wanting to quickly check multiple kebabs, especially when managing different meats or cuts.
Leave-In Probe Thermometers
Leave-in probe thermometers monitor kebabs as they cook. I insert a probe into thickest pieces, then track the temperature from a safe distance. Models such as the MEATER Plus or ThermoPro TP20 include wired or wireless probes, perfect for indirect grilling or managing larger batches. These thermometers alert me when beef or pork reaches safe serving temps, keeping kebabs juicy and consistent. I prefer leave-in probes when grilling for crowds or cooking kebab varieties that require precise, even results.
Step-by-Step Guide on How to Use a Thermometer for Grilling Kebabs
Accuracy makes grilling kebabs a breeze, and using a thermometer is the key to getting that perfect bite every time. Here’s how I approach kebab grilling with my tried-and-true thermometer methods.
Preparing Kebabs for Grilling
I always start by prepping kebabs evenly since uniform pieces help each kebab cook at the same pace. I cut proteins like chicken, beef, lamb or seafood into 1-in cubes and thread them snugly onto skewers. Veggies such as bell peppers, onions and zucchini get similar treatment to keep cook times uniform. I pat the surface dry to avoid steaming and allow for proper browning.
Inserting the Thermometer Correctly
I insert the thermometer into the thickest part of the protein on the skewer. For accurate readings, the sensor tip stays midway through the cube, away from the skewer or direct flames. I avoid piercing all the way through so I get the true internal temp. I use an instant-read model like my Thermapen for quick checks or insert the probe for continuous monitoring if I’m managing a big batch.
Monitoring and Interpreting Temperature Readings
I watch the thermometer closely as the kebabs grill over direct or indirect heat. For accuracy, I wait a few seconds for the thermometer to stabilize before reading. I rely on USDA guidelines for doneness: 165°F for poultry, 145°F for beef, pork, or lamb, and 145°F for seafood, all followed by a rest off the heat. I remove kebabs right at the target so carryover heat doesn’t push them past juicy perfection. If I’m grilling mixed kebabs, I test several skewers to check for even cooking.
Tips for Achieving Perfectly Grilled Kebabs
- Preheat grill zones:
I always preheat both direct and indirect zones to guarantee steady heat before putting kebabs on the grill.
- Use uniform skewer spacing:
I space out kebabs on the grill, leaving at least half an inch between each skewer, which allows hot air to circulate evenly for consistent cooking.
- Rotate skewers frequently:
I turn skewers every 2–3 minutes, minimizing hot spots and keeping charring even across the kebabs.
- Monitor temperature closely:
I insert my instant-read thermometer into the thickest protein piece, repeating checks on multiple skewers to confirm all reach recommended doneness based on meat type.
- Rest kebabs after grilling:
I let kebabs rest for 3–5 minutes off the grill. This rest period lets juices redistribute, locking in moisture for every skewer.
- Check vegetables separately:
I check firmer vegetables like bell peppers or onions, using the thermometer to ensure they are soft and slightly charred without burning.
- Keep a thermometer handy:
I keep my grilling thermometer within reach for quick access, especially when juggling several batches at once. This practice speeds up temperature checks and maintains consistent kebab quality.
- Clean thermometer between uses:
I wipe down the probe with a food-safe wipe or hot water after each reading, which keeps readings accurate and prevents any cross-contamination.
These methods let me produce kebabs that are juicy, safe to eat, and cooked with restaurant precision every time.
Common Mistakes to Avoid When Using a Thermometer
Missing the center of the protein
Missing the center of the protein leads to under- or over-cooked kabobs, especially with thicker meats like chicken breast or pork tenderloin. I always insert the thermometer into the very center of the largest piece, avoiding bones and the metal skewer for an accurate read.
Measuring over a hot spot or flame
Measuring over a hot spot or flame gives a false high reading—I’ve seen readings spike by 10–15°F when the probe tip gets too close to direct heat. I always move the kebab briefly away from intense heat before checking the temperature to avoid this error.
Failing to clean the thermometer between checks
Failing to clean the thermometer between checks spreads bacteria, especially when grilling different proteins like chicken, shrimp, and beef. I keep a damp cloth nearby and clean the probe after each insert to ensure safe, accurate results.
Not waiting for the reading to stabilize
Not waiting for the reading to stabilize creates guesswork. Most digital instant-read thermometers, such as the ThermoWorks Thermapen, need 2–3 seconds for an accurate read. I hold the probe still until the display locks, especially on thicker or mixed kebabs.
Only checking one skewer
Only checking one skewer assumes even cooking, which rarely happens when grilling for a crowd. I test at least two or three skewers per batch to spot variation, especially when mixing vegetables and proteins.
Inserting at an angle or too close to the edge
Inserting at an angle or too close to the edge causes inaccurate readings since the tip might sit in a hotter area or pick up heat from the grates. I always insert perpendicular to the kebab and target the midpoint.
Ignoring thermometer calibration
Ignoring thermometer calibration means any error gets passed into every reading. I test my main thermometer at least once a month in ice water (32°F) and boiling water (212°F) to ensure it’s hitting the right marks.
Leaving the thermometer in while grilling
Leaving the thermometer in while grilling, unless it’s a leave-in probe model, damages instant-read thermometers and skews readings. I always insert, check, and remove the probe right away unless I’m using a leave-in system like the MEATER Plus.
Overlooking thick vegetables
Overlooking thick vegetables like potatoes or eggplant means some pieces stay undercooked. I test thick veggies separately before serving, using the thermometer to ensure they’re tender and safe.
Misjudging carryover cooking
Misjudging carryover cooking results in dry kebabs. I remove kebabs from the grill about 3–5°F below my target to account for internal temperature rise while resting. This keeps everything juicy, especially with lean proteins like chicken breast.
Conclusion
Grilling kebabs has become a lot more enjoyable for me now that I use a thermometer every time. It takes the stress out of guessing and lets me focus on the fun part—sharing great food with friends and family.
If you want juicy kebabs and a more relaxed cookout, give these techniques a try. With a reliable thermometer and a little practice, you’ll be amazed at how easy it is to serve up perfect skewers every time.


