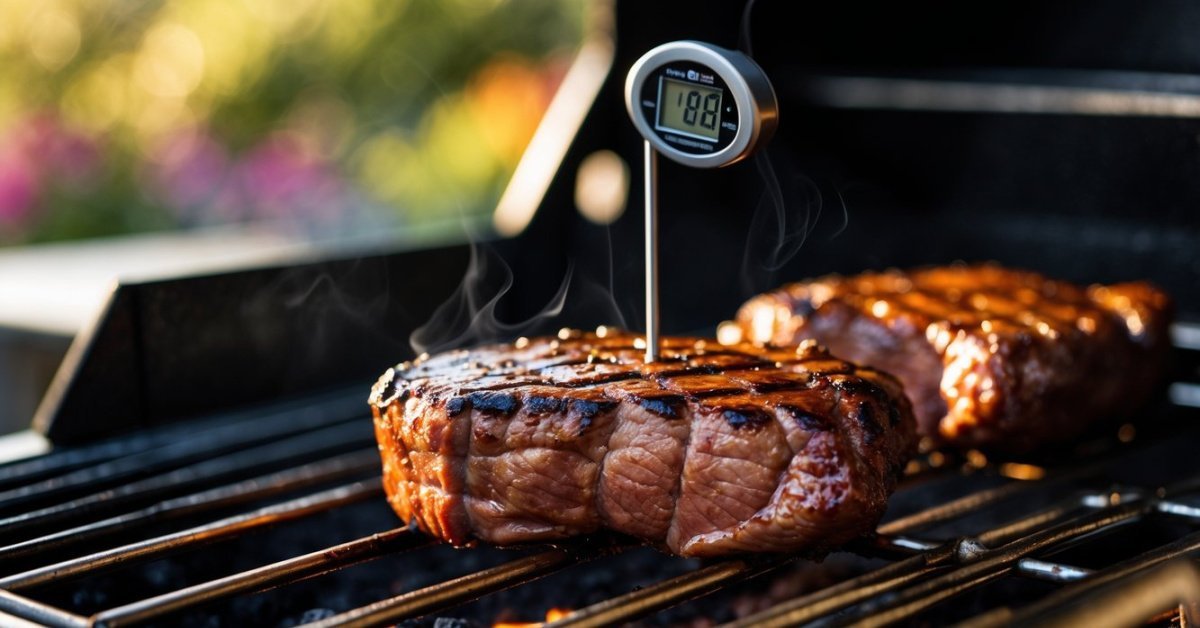
I love the magic of slow cooking—how it fills my kitchen with delicious aromas and turns simple ingredients into something special. But I used to worry about whether my meals were cooked just right. That’s when I discovered the leave-in thermometer, a tool that takes the guesswork out of slow cooking.
With a leave-in thermometer, I can relax knowing my food is reaching the perfect temperature every time. It’s a small gadget that makes a big difference, especially for those long, low-and-slow recipes I enjoy. Let me show you how easy it is to use and why it’s become a must-have in my kitchen.
What Is a Leave-In Thermometer?
A leave-in thermometer measures the internal temperature of food as it cooks, giving readings without opening the grill or slow cooker. I use these thermometers for brisket, pork shoulder, or whole chickens when I need slow, consistent heats.
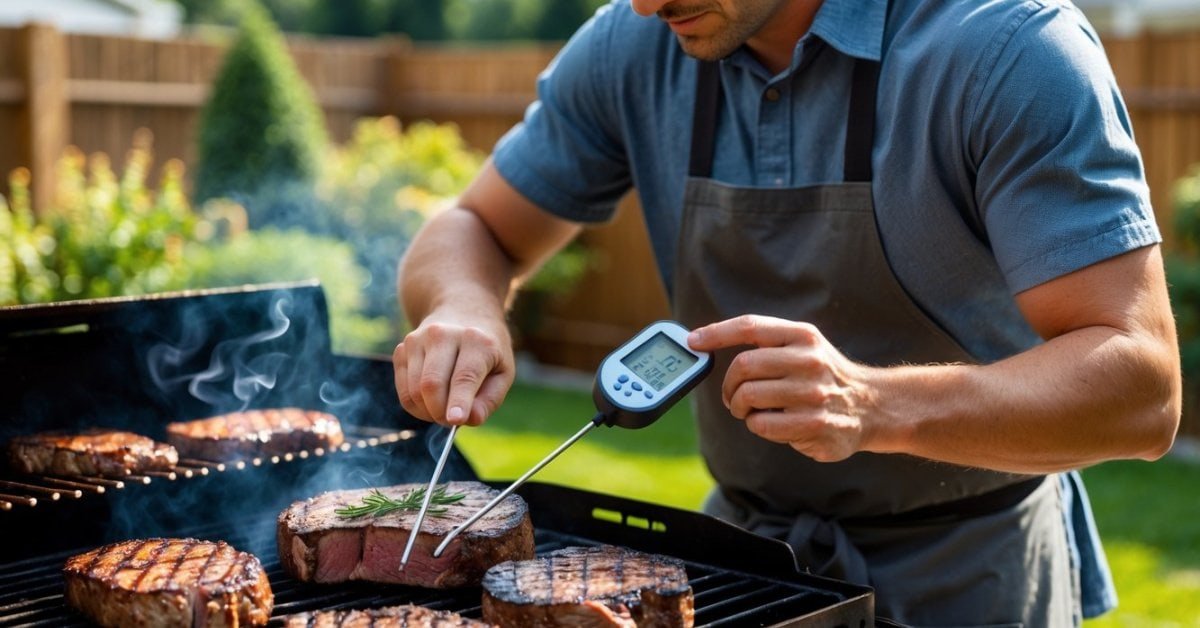
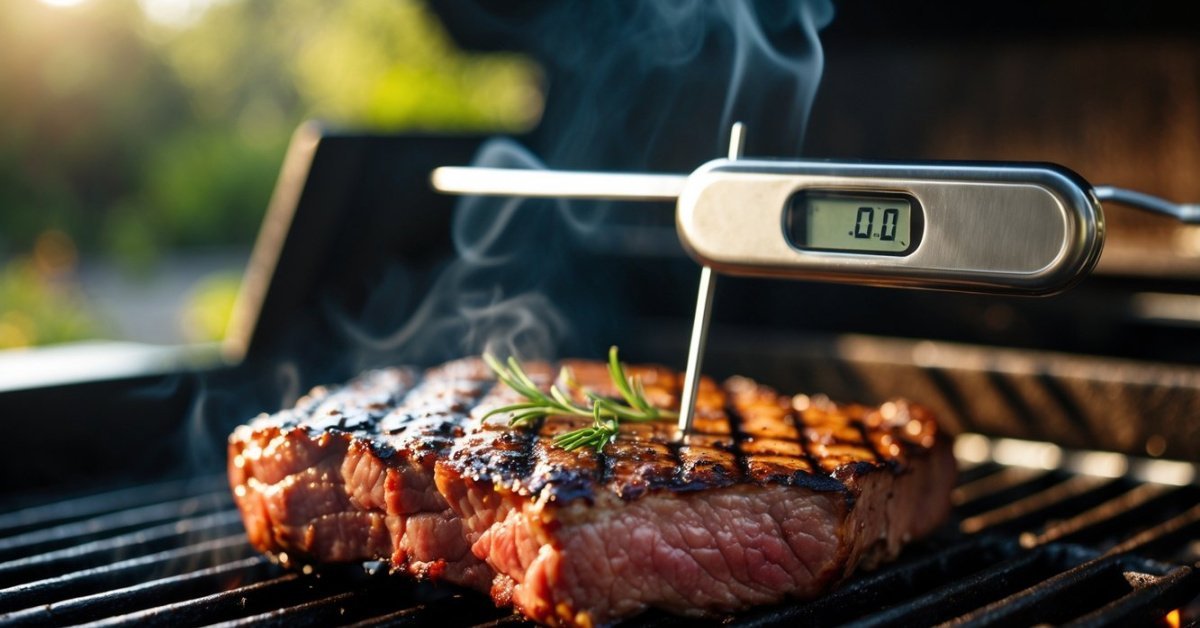
Most leave-in thermometers consist of a metal probe connected by a heat-safe cable to a digital or analog display. I insert the probe into the thickest part of the meat, then monitor real-time temps from outside the cooker. Some digital models feature wireless or Bluetooth options, letting me check temps from my phone or another room.
These tools help me prevent undercooking or overcooking, especially with large cuts. By getting steady temperature feedback, I know exactly when to pull meats for safe, juicy results. For pitmasters, slow-cook fans, and home grillers, leave-in thermometers add another layer of precision to any bbq session.
Benefits of Using a Leave-In Thermometer for Slow Cooking
Accurate Temperature Control
I use leave-in thermometers to maintain steady low temps for slow-cooked meats like brisket, pork ribs, and chuck roast. Precise readings keep my beef juicy by hitting the ideal doneness, not just guessing. Accurate temps mean you never rely on guesswork for larger cuts.
Food Safety Confidence
I trust leave-in thermometers to confirm my pork shoulders and whole chickens reach safe internal temps, as set by USDA guidelines (pork: 145°F, poultry: 165°F). Safe temp verification removes worries about undercooking or serving unsafe food to guests.
No Heat Loss During Checks
I enjoy checking temps on the display instead of opening the lid, which keeps the cooker at a stable temp for hours. Leave-in probes eliminate the need to open my smoker or slow cooker lid, saving heat and cook time.
Consistent Results Every Time
I notice every brisket batch tastes like the last because leave-in thermometers take the guesswork out of timing and doneness. Consistent temp readings deliver reproducible soft textures in beef cheeks, pulled pork, and turkey breast.
Real-Time Adjustments
I adjust my grill’s vents or heating elements in real time as the thermometer tracks the rise and fall of internal food temps. Immediate data lets me fix any temp drops, preventing stalls or overcooking on long overnight cooks.
Hands-Free Monitoring
I focus on prepping sides or mingling with friends while my wireless thermometer transmitter sends real-time updates to my phone or display. This hands-free approach streamlines busy BBQ days and lets me multitask without sacrificing perfect slow cooks.
Durability for All-Day Cooks
I rely on leave-in probes built to withstand hours at low and slow temps. Durable, heat-safe construction supports brisket cooks running 12-16 hours without probe failure or error. I keep replacement probes and digital displays on hand for long weekend cooks.
Step-by-Step Guide: How to Use a Leave-In Thermometer for Slow Cooking
I use leave-in thermometers every week to get perfect slow-cooked results, whether I’m doing Texas-style brisket or simple pork ribs at home. Here, I’ll walk through my exact process so you can get reliable, juicy results every time.
Choosing the Right Leave-In Thermometer
I test several grilling thermometers before deciding which one goes in the tool kit. Look for these features:
- Heat resistance: Choose a probe that’s oven and slow cooker safe up to at least 400°F. Models from ThermoWorks and Inkbird hold up well in long cooks.
- Display visibility: Pick a thermometer with a large, backlit screen. Wireless digital models, like the ThermoPro TP27, allow checking temps from anywhere in the house.
- Probe length: Opt for a probe at least 4 inches long for large cuts like brisket or pork butt.
- Temperature alerts: Pick a unit with customizable alarms for accurate target temp notifications.
Preparing Your Slow Cooker and Ingredients
I prep my slow cooker and meat before ever inserting the thermometer:
- Layering ingredients: Place aromatics and liquids first, then position the meat so the thickest section faces upward. This aligns the probe with the center mass.
- Patting the meat dry: Dry surfaces give a better probe reading and improve bark (for barbecue cuts).
- Initial seasoning: Apply rubs and marinades before inserting the probe to avoid disturbing the seal.
Placing the Thermometer Properly
Accurate placement of the probe is essential for safe and even slow cooking. I insert the probe horizontally into the thickest part of the meat; for brisket or pork shoulder, I avoid bones and fatty pockets since those skew results. Ensure the tip sits at the geometric center of the cut for precise readings. Secure the wire outside the cooker lid so it doesn’t touch hot surfaces or squeeze in the hinge.
Monitoring Temperature During Cooking
Effective monitoring saves meals from overcooking and dryness. I check the display every 30 minutes once the meat nears its target range—around 185°F for brisket or 195°F for pulled pork. I avoid opening the lid since heat loss can delay cooking and introduce errors. Wireless or remote thermometers let me see temps without standing by the cooker.
Understanding Temperature Readings and When to Remove
Knowing the target temp is crucial for each protein. When the digital display shows the desired internal temp (for example, 203°F for brisket according to USDA recommendations), I double-check by gently pressing the probe tip—if it passes through like butter, the brisket’s done. I wait until the thermometer confirms stable temps for at least 2 minutes before removing the meat and probe. For best results, I rest meats tented with foil for 30-45 minutes before slicing.
Common Mistakes to Avoid When Using a Leave-In Thermometer
- Incorrect Probe Placement
I see folks sometimes stick the probe too close to the bone or deep in fatty pockets. Placing the probe in the thickest part of the meat, away from bone or fat, gives the most accurate core temperature. Probes against bone or in fat can read higher or lower than the true meat temp, which can throw off doneness.
- Not Calibrating or Checking Thermometer Accuracy
I test every new thermometer I buy with ice water and boiling water before I trust it on a brisket. Using an uncalibrated thermometer, especially a cheaper one, risks under or overcooking meat. Two-point calibration— in ice (32°F) and boiling water (212°F, adjusted for altitude)—catches issues up front.
- Exposing the Probe Wire to Direct Flame or High Heat
Leave-in thermometers have heat limits, usually between 500°F and 700°F for probe wires. letting the cable touch a grill grate, charcoal, or burner can melt insulation or break the wire, ruining probe accuracy. I always route wires away from hot spots and never shut cooker lids tightly on them.
- Failing to Set Temperature Alarms
I use the alarm feature for long cooks. Forgetting to set alarms can mean missing a critical target temperature, leading to dry or overcooked barbecue. Alarms or wireless app notifications help multitaskers like me stay on top of my brisket, pork shoulder, or ribs.
- Opening the Cooker to Check the Display
Some folks lift the lid just to look at the digital display, letting out precious heat and smoke. I always keep my display outside the grill or smoker where I can see it, or use a wireless or Bluetooth model. This way, I avoid temperature drops from unnecessary lid lifting.
- Leaving the Probe in During Resting
Once I remove the meat and tent it to rest, I pull the probe out. Leaving it in can trap meat juices around the hole and cause leakage, making brisket or pork shoulder lose valuable moisture right at the end.
- Not Cleaning the Probe Properly After Use
Residue from past cooks can build up on the probe and cause off flavors or even bacteria growth. I scrub mine well after each session, avoiding harsh cleaners that could damage the metal or wiring, and check seals where the cable meets the probe for moisture.
Common Mistake Table
| Mistake | Impact | Example |
|---|---|---|
| Incorrect probe placement | Inaccurate readings | Probe against rib bone in beef ribs |
| Uncalibrated thermometer | Under/overcooked meat | Probe reads 5°F off, brisket too rare |
| Probe wire exposure to direct flame | Probe/wire failure | Wire melts on grill grate |
| Skipping temperature alarms | Missed target temp | No alert, pork overcooks |
| Opening lid to check display | Heat/smoke loss, longer cook times | Lid off to see LCD, temp drops |
| Leaving probe in during resting | Juice leakage | Hole drains moisture before slicing |
| Poor probe cleaning | Contamination, inaccurate readings | Grease buildup ruins next cook |
Cleaning and Maintaining Your Leave-In Thermometer
Regular cleaning and maintenance of a leave-in thermometer keep it accurate and safe for every grilling session. I always clean my probe and cable after each use to make sure residual food or grease doesn’t affect future cooks.
Cleaning the Probe
I clean the metal probe with hot, soapy water right after it cools. Grease, residue, and seasonings can create buildup, so I scrub with a soft sponge. I avoid submerging display units or control wires since water can damage internal components. For stuck-on particles, I use a little baking soda paste. I wipe everything dry with a lint-free towel before storage.
Maintaining the Cable and Display
I check the cable for cracks or kinks before every grilling session. Any signs of damage—like fraying or exposed wires—mean replacement is needed. I wipe down the cable with a damp cloth and avoid letting moisture get into the digital display or connectors. For wireless models, I store the receiver and base in a dry spot to prevent condensation and battery corrosion.
Calibrating for Accuracy
I test my thermometer’s calibration once a month. Using the ice water method, I insert the clean probe into ice water and confirm it reads 32°F. I repeat with boiling water for a 212°F reading, adjusting for elevation if I’m anywhere other than Texas. Consistent calibration keeps my temperature readings spot-on with every brisket and rack of ribs.
Storage Tips
I always coil the cable loosely and store the components in a protective case or box away from direct sunlight and humidity. Sharp bends in the cable weaken the insulation, so I keep it gently wound. I store backup batteries nearby, especially for longer outdoor bbqs or travel cooks.
Regular cleaning, calibration, and inspection extend your leave-in thermometer’s lifespan—ensuring accurate, reliable temps for every low-and-slow brisket, pork shoulder, and chicken thigh I throw on the grill.
Conclusion
Using a leave-in thermometer has truly transformed the way I approach slow cooking. I feel more confident experimenting with different cuts of meat and new recipes because I know I can trust the results every time.
If you haven’t tried one yet I highly recommend giving it a shot. It’s a simple upgrade that takes the stress out of slow cooking and lets you focus on enjoying the process—and the delicious meals that follow.

