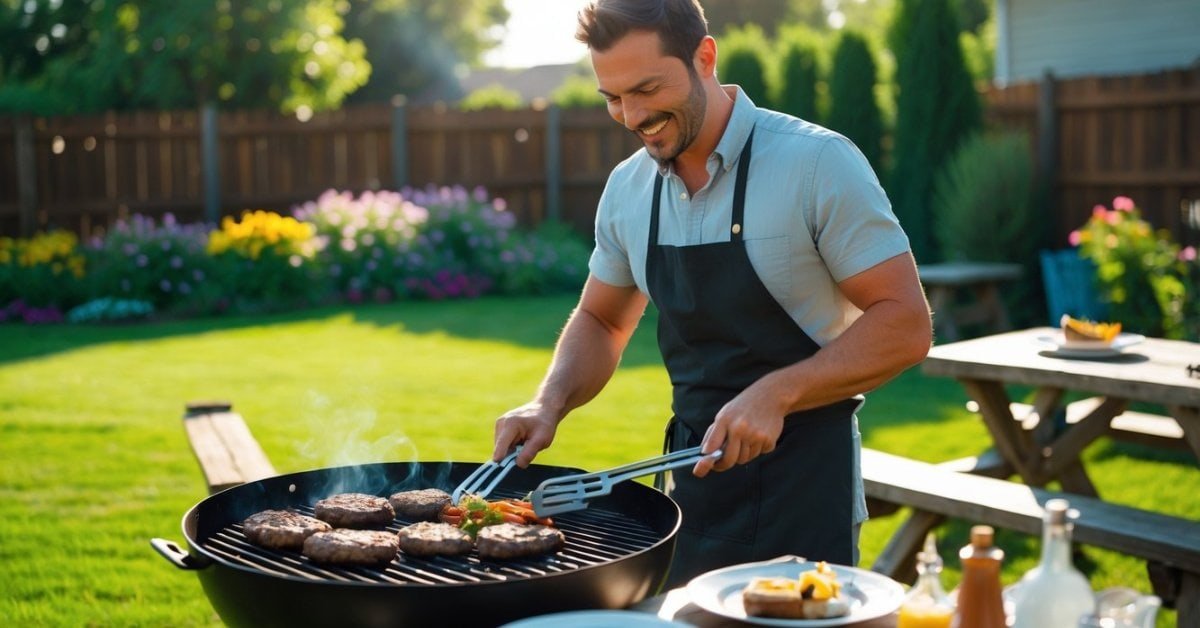
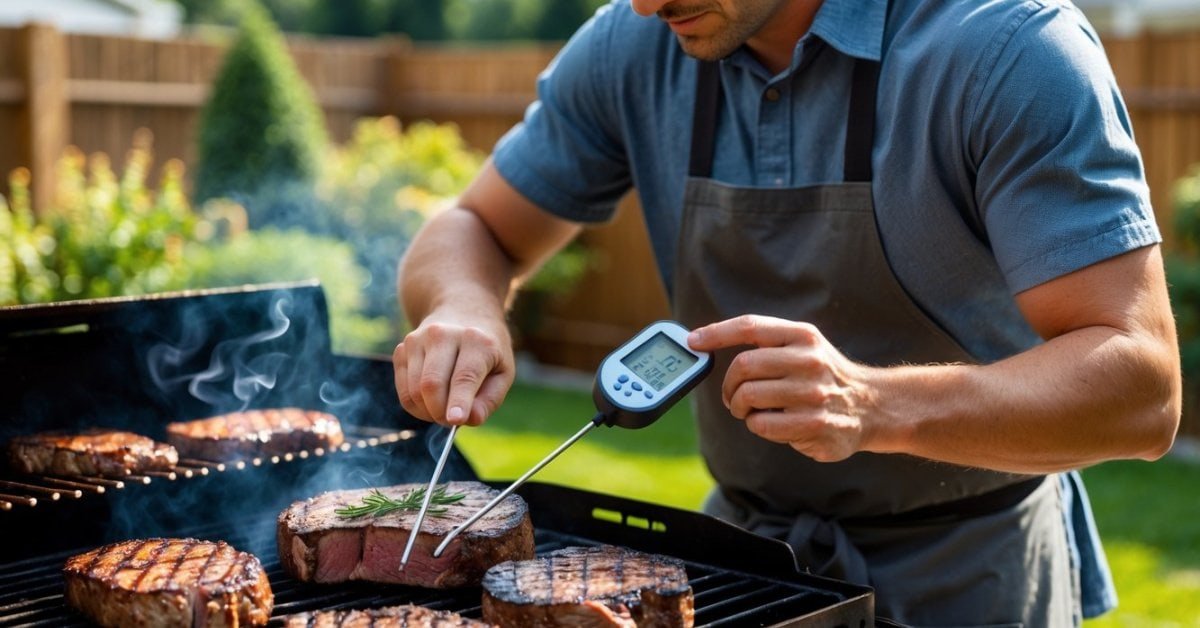
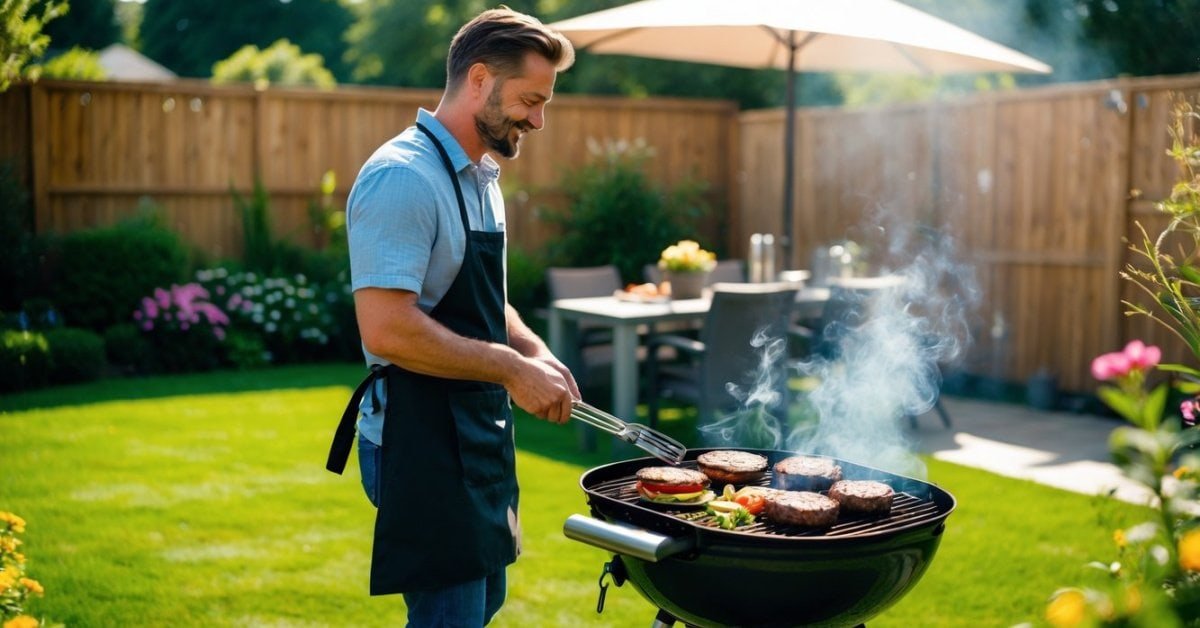
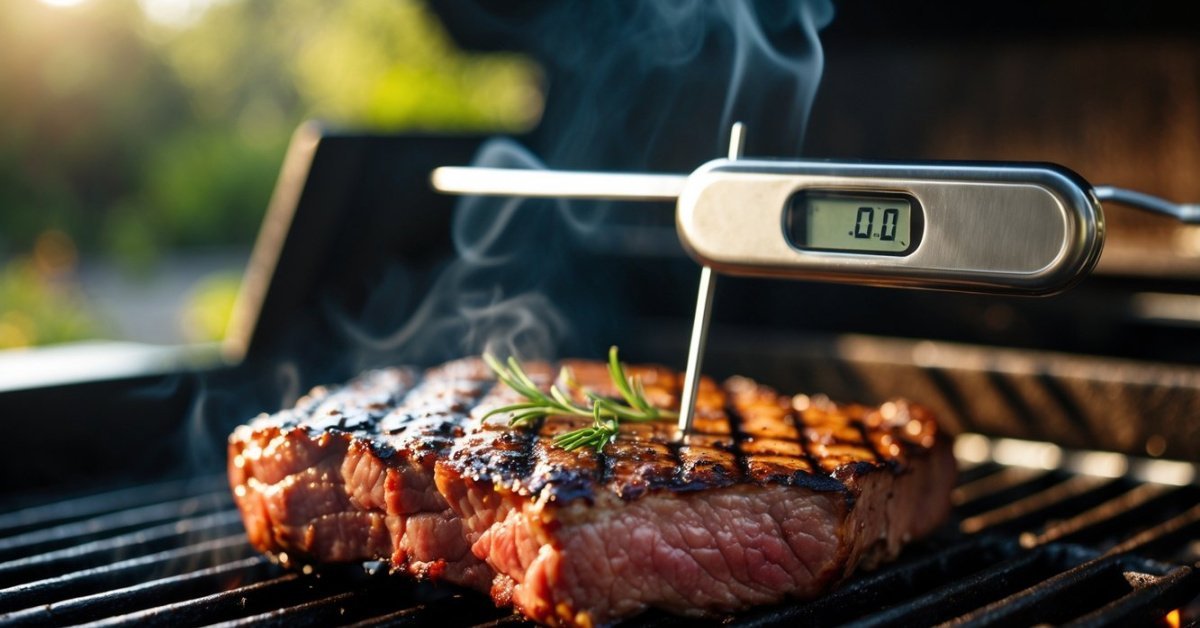
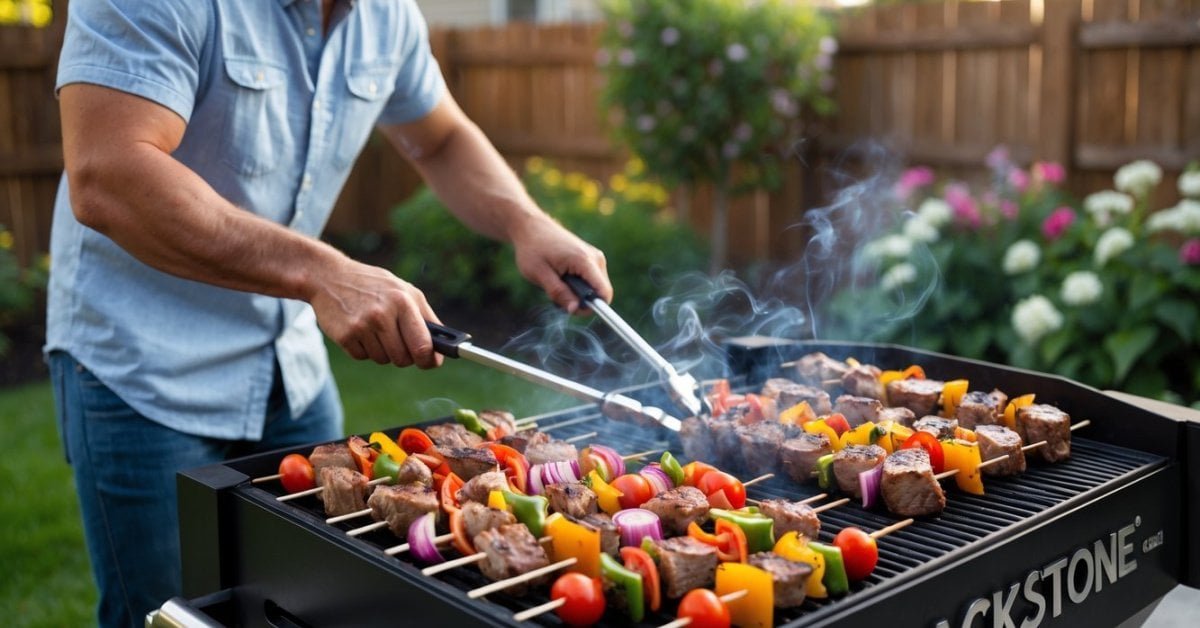
Nothing ruins a backyard barbecue faster than overcooked steak or underdone chicken. I know how important it is to get those grilling temps just right without spending ages hovering over the flames. That’s where a fork thermometer comes in—simple to use and super handy for quick temperature checks.
I love how this tool lets me check doneness in seconds so I can spend more time enjoying good company and less time stressing over the grill. If you’re curious about making your grilling routine easier and more precise you’re in the right place.
What Is a Fork Thermometer?
A fork thermometer is a grilling tool that combines a digital thermometer with a sturdy fork for checking meat doneness fast on the grill. I use it when I want to check temperatures without juggling separate tools. Most models feature a long handle, sharp tines, and an easy-to-read display that shows the temperature once inserted into the thickest part of the meat.
Manufacturers design fork thermometers for outdoor cooking, using stainless steel tines and heat-resistant handles. The built-in sensors, usually placed between the tines, detect the internal temperature of meats like chicken, pork, or steak. Many fork thermometers, like models from ThermoPro or Weber, include preset doneness levels for common proteins.
I grab a fork thermometer to check a few steaks at once during larger cookouts. Unlike traditional meat probes, these tools let me turn, serve, and check meat temperatures with the same device. Grillers find this helpful for crowded grills or when moving quickly between the smoker and the table. When exploring which thermometer to trust with brisket or burgers, I always include a few fork-style options in my testing lineup.
Key Benefits of Using a Fork Thermometer for Grilling
- Instant Temperature Readouts
I get immediate readings with fork thermometers, where digital sensors display results in about 2-3 seconds, which reduces guesswork and shortens time with the lid open.
- Versatile Meat Monitoring
I check the temperature of thick steaks, thin chicken breasts, and sausages without changing tools. Many fork thermometers include preset doneness levels for beef, pork, lamb, and poultry, which keeps results consistent.
- Simple One-Hand Operation
I flip and check meats using a single tool, since grips stay cool and tines pierce easily. I keep one hand free for tasks like seasoning or moving food.
- Enhanced Food Safety
I avoid serving undercooked chicken or pork since fork thermometers provide precise readings in real time, which helps eliminate foodborne risks.
- Efficiency in Large Cookouts
I monitor six or more steaks at once with a fork thermometer during busy backyard bbqs, which lets me keep the grilling line moving fast.
- Less Mess and Cleanup
I use the fork thermometer for both turning and temperature checks, which cuts down on tool swaps and drips on surfaces. Stainless-steel tines clean up easily after use.
| Benefit | Contextual Example | Related Feature |
|---|---|---|
| Instant Readouts | Temp in 2-3 seconds per steak | Digital LCD sensor |
| Versatile Monitoring | Beef, poultry, pork, sausage checks | Preset doneness modes |
| One-Hand Operation | Turning and checking at the same time | Ergonomic non-slip handle |
| Enhanced Food Safety | No undercooked chicken on the table | Accurate probe sensors |
| Large Cookout Efficiency | Testing 6+ steaks quickly | Multi-probe or quick reset |
| Less Mess | Fewer utensils to wash | Dual-purpose design |
Step-By-Step Guide: How to Use a Fork Thermometer for Quick Grilling Checks
I use my fork thermometer at every cookout to make sure my steaks, burgers, and chicken reach the perfect temperature fast. Each step helps get precise results, giving me more time to enjoy the grill and less time stressing about doneness.
Preparing Your Fork Thermometer
I always start by making sure the fork thermometer’s batteries are charged or fresh—low power skews readings. I wipe the tines clean with a damp towel before grilling begins. If my thermometer offers preset doneness settings—like for beef, pork, or poultry—I select the one matching what I’m grilling. This quick setup lets me focus on grilling, not menu navigation.
Inserting the Thermometer Properly
I push the tines straight into the thickest part of the meat since that spot gives the most accurate reflection of doneness. I avoid touching bone, fat, or gristle—contact with these can yield false readings. For even results, I insert the fork horizontally into thinner cuts like pork chops or burgers and from the side on thicker steaks or roasts.
Reading Temperatures Accurately
I watch the digital display—most fork thermometers give a reading in 2–3 seconds. When the number stabilizes, that’s the real internal temperature. I use USDA-recommended guidelines: 145°F for beef steaks, 160°F for ground beef, and 165°F for poultry. If the fork has doneness indicators, I still double-check the raw temperature for peace of mind.
Cleaning and Storing Your Fork Thermometer
I clean my fork thermometer right after each use. I wash the tines with hot soapy water, taking care not to wet the digital handle or screen. I wipe the handle down with a damp cloth if needed. Once it’s fully dry, I store the thermometer in a safe, dry spot, away from heat, so it’s ready for my next backyard grilling session.
Common Mistakes to Avoid
Ignoring Calibration
I see grillers skip regular calibration checks after a few uses. Any fork thermometer can drift from accuracy over time, especially after heavy grilling sessions or high-heat exposure. I always compare my fork thermometer to a calibrated standard thermometer every few weeks.
Puncturing the Wrong Spot
I notice some barbecue fans poke the meat close to a bone, through fat, or near an edge. These spots don’t reflect the true internal temperature. For accurate readings, I target the center and thickest part of the cut, steering clear of bones and fatty pockets.
Not Waiting for the Display
Many people pull out the fork thermometer before the digital reading steadies. Some models take an extra second during chillier weather. I wait for the temperature to stop rising or blinking to get a precise measurement.
Leaving the Fork in the Meat
I never leave the fork thermometer inserted for longer than a few seconds. Holding it in too long, especially over open flame, might damage the electronics or display. I insert, read, then remove it right away.
Skipping Cleaning Between Uses
I’ve seen grillers forget to clean the tines between checking different meats. This step prevents cross-contamination—especially between poultry, pork, and beef. I always quick-wipe with a grill-safe cloth or sanitize the fork before checking another cut.
Relying Solely on Presets
Preset doneness levels offer guidance, but I confirm temperatures with USDA recommendations or my preferred doneness chart. Not all models align perfectly with food safety guidelines.
Neglecting Battery Checks
Some grillers get caught with a dead battery in the middle of a cookout. I check my battery power before longer grilling sessions to avoid losing a key tool during peak cooking times.
Applying Too Much Force
Jabbing the fork thermometer hard can damage sensitive sensors or bend tines. I insert with gentle, firm pressure to avoid mishandling the tool.
A fork thermometer speeds up grilling only when used properly. Avoiding these mistakes ensures consistently safe, tasty results every time I barbecue.
Choosing the Right Fork Thermometer for Your Needs
Selecting a fork thermometer for grilling checks depends on features that match your cooking style. I always look for the following essentials when I test new models, especially since I grill everything from brisket to veggies multiple times a week.
- Rapid Response Time
Faster response lets me check more steaks in less time. Leading models display internal temperatures in under 3 seconds—for example, ThermoPro TP20 and Char-Broil Digital Thermometer.
- Long, Sturdy Handle
Long handles protect my hands from flare-ups and heat. Handles over 12 inches, like those on Taylor Precision forks, keep me comfortable even over big pits.
- Preset Doneness Controls
Built-in USDA presets for beef, pork, chicken, and fish let me flip between recipes without guesswork. Models with at least 4-6 tailored settings suit most backyard barbecues.
- Backlit, Easy-to-Read Display
Backlit displays let me grill in bright sunlight or at night—a feature I use for late-evening cookouts with friends. Large digits also help during rowdy parties.
- Accurate Temperature Sensors
Sensors within ±1°F guarantee repeatable, safe results. I validate readings by testing against my reference probe on thick cuts.
- Battery Life and Power Options
Replaceable or rechargeable batteries support longer events or travel cooks. Units like the OXO Good Grips fork last through day-long festivals on a single battery.
- Easy-to-Clean Design
Removable tines and stainless steel finishes clean up fast, which helps when I’m juggling brisket, ribs, and turkey on one grill.
- Durability and Grip
Rugged build and slip-free grips make a difference when lifting heavy steaks or whole chickens. Textured silicone handles work even with saucy hands or gloves.
Here’s a quick table highlighting leading fork thermometer features:
| Model | Response Time | Handle Length | Doneness Presets | Battery Type | Display Type |
|---|---|---|---|---|---|
| ThermoPro TP20 | 3 seconds | 15 in | 9 | AAA (replaceable) | Backlit LCD |
| Taylor Precision Fork | 4 seconds | 13 in | 5 | LR44 (replaceable) | Standard LCD |
| Char-Broil Digital Fork | 2 seconds | 14 in | 4 | AAA (replaceable) | Backlit LCD |
| OXO Good Grips Digital Fork | 3 seconds | 12 in | 6 | Rechargeable | Backlit LED |
I test different brands and styles throughout the year, matching features to what I’m cooking most—whether it’s high-volume ribs for a crowd or delicate fish for weeknight grilling. Matching your typical grill setup and recipes to the right model helps you get the most out of your fork thermometer during every session.
Conclusion
Grilling should be about enjoying great food and good company not stressing over meat doneness. I’ve found that a fork thermometer really takes the guesswork out of the process and lets me focus on having fun with friends and family.
With the right features and a bit of practice this tool quickly becomes a trusted companion at every cookout. If you love grilling as much as I do investing in a quality fork thermometer is a simple way to step up your game and serve perfectly cooked meats every time.

