
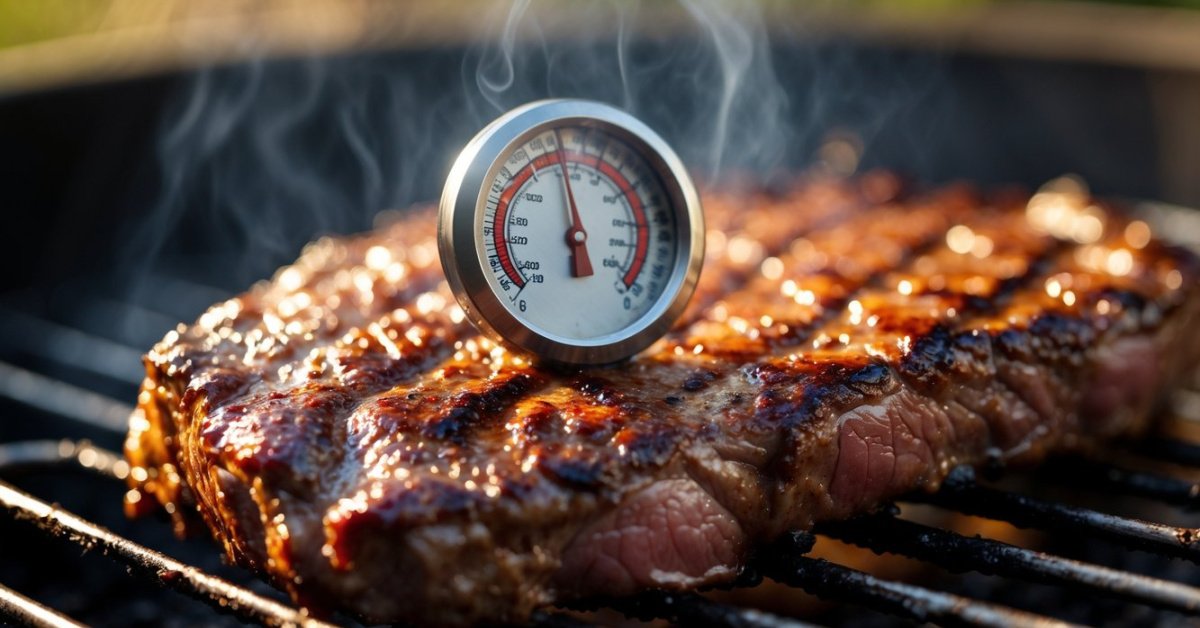
Whenever I fire up my grill I want every burger steak or veggie skewer to come out just right. But even the best recipes can fall flat if I don’t keep a close eye on the temperature. It’s amazing how just a few degrees can make the difference between juicy perfection and a dried-out disappointment.
I’ve learned that guessing or relying on old tricks just doesn’t cut it. Taking accurate temperature readings is my secret weapon for grilling success. If you’re ready to step up your grill game and serve up flawless food every time you’re in the right place.
Understanding the Importance of Accurate Grill Temperatures
Grill temperatures directly affect food texture, flavor, and safety. When I ran my Texas BBQ cart, I learned that accurate readings mean brisket stays juicy and burgers don’t dry out. High-heat methods like searing steaks at 500°F lock in flavor, while low-and-slow barbecue at 225°F gives ribs that classic tenderness. Meat thermometers, for example, help avoid undercooked chicken and eliminate guesswork.
Accurate grill temperature also impacts cooking consistency. I see the same cut of meat cook differently each time if I don’t monitor the actual heat inside the grill dome. Built-in grill thermometers, for instance, often measure air at the lid, not at grate level where the food sits. External digital probes, like leave-in wireless models, give reliable results at the actual cooking surface.
Food safety depends on reaching minimum internal temperatures. Poultry must hit 165°F, pork 145°F, and beef steaks 130–145°F for safe consumption according to USDA guidelines. Forgetting this can cause unsafe food that looks edible on the outside. I always use well-calibrated instant-read thermometers or probe-style thermometers for accuracy.
Reliable temperature control boosts confidence in experimenting with recipes. When I test new rubs or smoking woods, I focus on maintaining proper heat to highlight those flavors. Variations as small as 10°F can make brisket tough or turn smoked fish mushy, so I rely on precise grill thermometers for every cookout.
Types of Grill Thermometers
Knowing each type of grill thermometer helps me achieve spot-on results every time I fire up the grill. Specific thermometers suit different cooking situations, so choosing the right one makes all the difference.
Built-In vs. External Thermometers
Built-in thermometers come mounted in grill lids. These give me general chamber temperature readings, but they usually sit several inches above the grates. This position almost always causes the readout to run cooler than grate-level heat, sometimes by more than 30°F, especially when smoking brisket or ribs.
External thermometers, like digital probe models, let me place sensors right at the cooking surface or inside thick cuts. I get precise readings exactly where food sits. For briskets and bone-in chicken, external probes help me spot hot spots and dial in even, safe cooking. My BBQ cart days taught me to trust these for accuracy.
Instant-Read vs. Leave-In Probes
Instant-read thermometers give ultra-fast readings when I check steak, burgers, or chicken. I insert the probe into the center, and within 2-3 seconds, I see the temp—perfect for confirming doneness just before serving. Popular models include ThermoWorks Thermapen and Lavatools Javelin.
Leave-in probes track the internal temperature over the whole cook. I insert the probe before closing the lid, and keep an eye on a digital display—some even connect via Bluetooth or Wi-Fi. When slow-smoking pork butts or Texas-style brisket, I use leave-in probes to avoid constantly losing heat by opening the lid.
| Type | Use | Example | Accuracy |
|---|---|---|---|
| Built-in | Chamber temp | Lid gauge | Often ±30°F |
| External Probe | Grate/Food | ThermoWorks, Inkbird | ±1-2°F |
| Instant-read | Quick checks | Thermapen, Javelin | ±0.5-2°F |
| Leave-in Probe | Long cooks | MEATER, Maverick | ±1-2°F |
Knowing how each thermometer fits into my grilling toolkit guarantees better results, improved food safety, and more consistent flavors.
Step-by-Step Guide: How to Take Accurate Temperature Readings on a Grill
I’ve found that getting grill temperatures right always starts with solid prep and careful technique. Here’s my method for dependable readings every time I fire up the grill.
Preparing Your Grill for Temperature Measurement
I always start with a clean grill to prevent soot, ash, or old grease from throwing off the temperature. Every session, I preheat the grill for at least 10-15 minutes—whether charcoal, gas, or wood pellet—so the environment stabilizes. When I’m using charcoal, I spread the coals evenly for consistent heat or set up a two-zone fire with coals on one side for indirect cooking. For gas grills, I set burners according to the heat zones I want, then let the grill reach the desired cooking temperature before placing food or taking thermometer readings.
Proper Placement of Thermometers
I position my thermometers at grate level, not high up on the lid, to read the actual cooking surface temperature. When using a leave-in probe, I insert it into the thickest part of the meat, away from bones and fat, for an accurate internal temperature. For chamber thermometers, I stick them through a vent or rest them near where food cooks—not stuck to the built-in spot on the hood. If I’m grilling multiple cuts, I use two probes to monitor both meat and ambient temperature side by side.
Taking Readings and Avoiding Common Mistakes
I only trust instant-read thermometers after letting them equilibrate for a few seconds in the thickest part of the protein—never just at the surface. I check temperatures in several spots if I’m working with uneven cuts or big pieces, like brisket or pork shoulder, since one spot rarely tells the whole story. I always avoid touching bone, as bone conducts heat differently and can give a falsely high reading. After every check, I clean the thermometer stem to avoid cross-contamination, especially when working with poultry. When working with grill thermometers over long cooks, I check calibration every few uses by testing in ice water (32°F) and boiling water (212°F at sea level), since just a couple of degrees can make the difference between juicy and dry BBQ.
Tips for Maintaining Your Grill Thermometer
- Clean thermometer probes after every session
I always clean the thermometer stem with hot soapy water after each use to prevent cross-contamination. Brisket drippings and rib marinades often leave sticky residue that can harden and affect accuracy.
- Store digital and analog thermometers properly
I keep my digital thermometers and leave-in probes shielded from humidity and direct sunlight, which can damage wiring or displays. I store analog dial models in a dry drawer since moisture can fog the face and corrode inner parts.
- Avoid submerging electronic components
I never soak digital or leave-in probe parts in water. Only the metal probe tip gets washed, since submerging wires or displays risks permanent malfunction.
- Calibrate thermometers every few cooks
I test mine using the ice water and boiling water method. For boiling, I insert the probe into vigorously boiling water—expecting it to read close to 212°F (at sea level). For ice water, I look for 32°F. If readings are off, I adjust the calibration nut on dial models or follow the digital device’s instructions.
- Inspect for physical damage
I check for cracked probe tips, bent stems, and fraying wires, especially after moving my gear for cookouts. Physical damage can cause inaccurate readings or failure midway through a smoke.
- Replace batteries before long sessions
I swap out thermometer batteries before big brisket cooks or multi-hour rib smokes. Weak batteries often cause slow updates and false readings in digital models.
- Keep thermometer manuals
I keep every instruction manual for my thermometers. Different brands like ThermoWorks or Weber have unique care and calibration steps noted by the manufacturer. If I ever forget a procedure or code, those manuals save time.
These habits help me lock in precise temperatures for every steak, pork butt, or smoked chicken I grill. Regular thermometer maintenance cuts down on errors and protects every cookout from mishaps.
Troubleshooting Inaccurate Temperature Readings
Inconsistent readings from grill thermometers often frustrate even experienced grillers like me. Spotting the source of the problem helps restore accuracy and improves food safety.
Check Thermometer Placement
Incorrect placement causes unreliable readings in both built-in and external thermometers. Always position the probe at grate level or insert into the thickest part of the meat, away from bone or fat. Never let the tip touch grill grates or sit outside the food.
Inspect for Calibration Issues
Miscalibrated thermometers create temperature gaps of 5-20°F. Calibrate using ice water (32°F) or boiling water (212°F at sea level) before grilling. Replace analog thermometers showing persistent drift during calibration tests.
Monitor Battery Life and Connections
Digital thermometer screens often flicker, freeze, or go blank as batteries weaken. Always use fresh batteries and check for secure connections between probes and handheld units. Replace damaged cables or connectors immediately.
Eliminate Environmental Interference
Rapid lid-opening, wind, and direct flames impact temperature readings. Minimize grill lid openings, shield wireless units from wind, and keep probes away from flare-ups for truer numbers.
Clean Residue from Probes
Grease, carbon, or food build-up on probes and sensors affect accuracy. Scrub tips with a damp cloth after every cook and sanitize before checking doneness, especially with different meat types.
Compare with a Reference Thermometer
If readings seem suspect, double-check using a trusted instant-read model. Consistent discrepancies point to a faulty or miscalibrated unit.
Evaluate for Physical Damage
Bent probes, cracks, and loose dials signal failed thermometers. Discard damaged units and avoid taping or “fixing” them with adhesive, since accuracy can’t return.
If temperature fluctuations persist across sessions, upgrade to a higher-quality model. Based on my experience, features like water resistance and braided steel cables boost both reliability and longevity in challenging grill conditions.
Conclusion
Grilling should be fun and rewarding—not stressful or uncertain. Once I started paying close attention to temperature readings I noticed a huge difference in my results and my confidence behind the grill. With the right tools and a little practice anyone can master the art of temperature control and consistently serve up delicious food.
Accurate readings aren’t just about flavor—they keep family and friends safe too. So take your time trust your thermometer and enjoy the process. Happy grilling!


