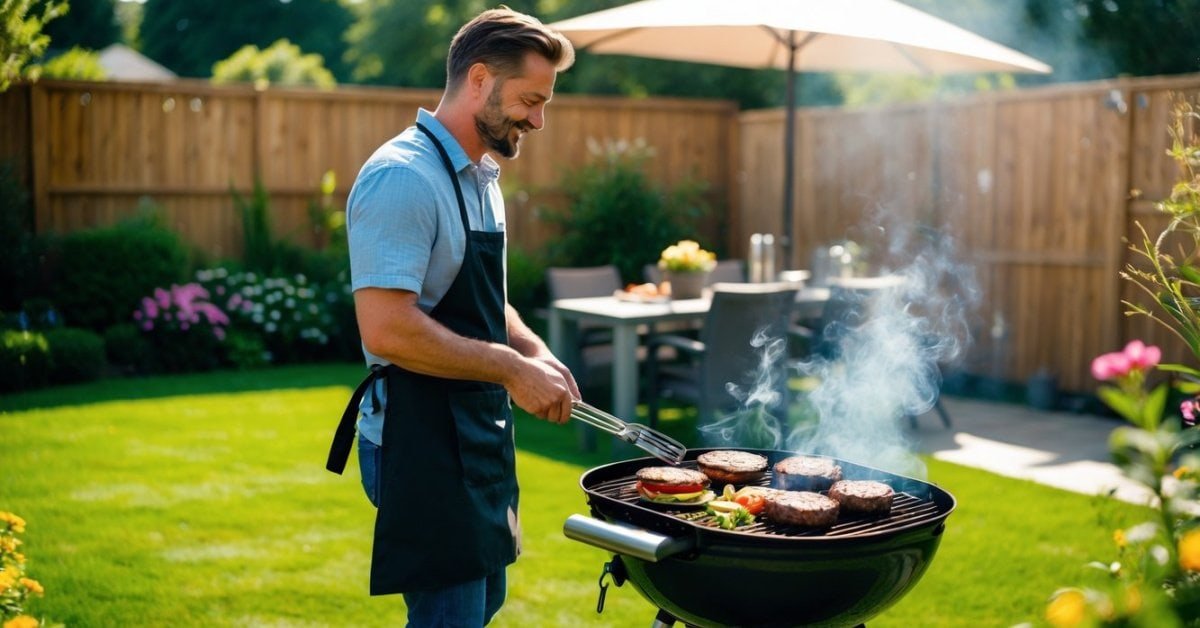
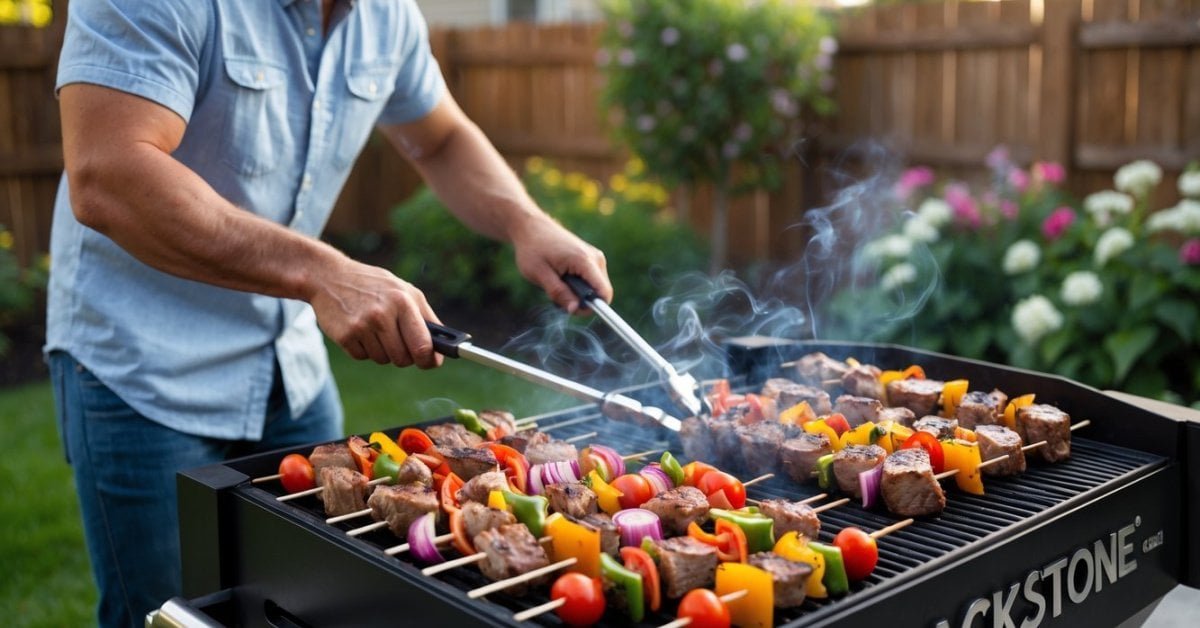
Grilling at high altitudes always brings a new set of surprises. I’ve learned that what works perfectly at sea level can leave me guessing when I’m up in the mountains. The air feels thinner and temperatures shift in ways I never expected, making it a real challenge to get my steaks and burgers just right.
That’s where my trusty thermometer comes in. It’s become my secret weapon for nailing those perfect grill marks and juicy centers, no matter how high above sea level I am. With a little know-how and the right tools, I can still enjoy those backyard cookouts and impress my friends—even when the altitude tries to throw me off my game.
Understanding the Challenges of Grilling at High Altitudes
Grilling at high altitudes brings unique complications I never faced back when I ran my BBQ food cart in Texas. Air pressure drops as altitude goes up, so cook times rarely match standard recipes. Water boils at lower temperatures, usually around 198°F at 7,000 feet compared to 212°F at sea level, which means food cooks slower and loses moisture faster.
Thinner air reduces oxygen levels, making it harder for charcoal, pellets, and wood to burn consistently. For example, on my last mountain trip, a charcoal grill needed extra fuel just to maintain medium-high heat. Wind gusts show up more often at elevation, causing frequent and rapid temperature swings across grill surfaces, which makes heat control much tougher.
Meat dries out faster and is at risk of overcooking despite the lower boiling point. Grill marks develop slower, but the inside sometimes overcooks while the outside looks underdone. I rely on digital and instant-read thermometers to monitor internal temperatures because visual cues lose accuracy up here.
Thermometer readings stay essential for food safety and perfect doneness when altitude throws off traditional grill instincts. I use the thermometer frequently for brisket, steak, pork butt, and chicken, with results that match my expectations and keep my BBQs stress-free—even a mile above sea level.
Why Accurate Temperature Matters for High-Altitude Grilling
Precise temperature readings make a major difference when grilling at high altitudes. Thinner air lets heat escape faster from steak surfaces, so guessing can leave meat undercooked or dry. Water boils at about 202°F at 5,000 feet, for example, so pork shoulder or brisket loses moisture sooner and dries out if I don’t watch temperatures closely.
Consistent doneness relies on internal temperature. USDA guidelines recommend 145°F for pork, 160°F for ground beef, and 165°F for poultry, all measured at the thickest part. At higher elevations, meat takes longer to hit these targets, and outside color can mislead—burgers might brown fast from higher grill temps, but stay raw inside.
Safe grilling depends on accurate readings. Harmful bacteria like Salmonella or E. coli survive if food doesn’t hit the right center temperature, especially in larger cuts or bone-in pieces. If I eyeball it, altitude can fool me. A thermometer cuts the guesswork.
Repeatable results come with thermometer use. I log temperatures and cook times for ribs, chicken, or fish, then adjust for altitude every time. Trusted models like the ThermoWorks Thermapen and Weber iGrill let me test temps even during sudden wind gusts, which are common on mountain patios.
Texture and juiciness improve when I steer by numbers instead of appearance. High-altitude air dries out meat, so I pull steaks or brisket as soon as they hit their mark. Overcooking from heat surges or running low on moisture makes for chewy BBQ, but a good thermometer preserves tenderness.
Staying confident matters for group cookouts. With friends or family watching, I rely on numbers so I’m never left guessing if the food’s ready—even when the weather shifts or the grill burns less hot than back in Texas.
Choosing the Right Thermometer for High-Altitude Cooking
Grilling at elevation makes picking the right thermometer critical. I’ve tested dozens in the Rockies and learned some models keep up with the fluctuating heat and thinner air better than others.
Types of Thermometers to Consider
- Instant-Read Digital Thermometers: I use these for quick checks on steaks, chicken breasts, or burgers. Models like the Thermapen ONE show accurate readings within 2 to 3 seconds, a huge help when high-altitude gusts threaten to cool the grill fast.
- Leave-In Probe Thermometers: I set these up for low-and-slow cooks like briskets or pork butt. Dual-probe options, such as the ThermoWorks Smoke, monitor both grill temperature and internal meat temp, giving me real-time updates and alarms.
- Infrared Thermometers: I check cooking grates and pizza stones with these. Handheld models like the Etekcity Lasergrip spot surface temps quickly, so I know exactly when the searing zone is ready at 7,000 feet.
Key Features for High-Altitude Use
- Fast Response Time: I rely on models that stabilize readings in under 5 seconds since wind and fluctuating temps mean there’s no time to waste.
- Accuracy: I check for ±1°F (±0.5°C) precision or better for internal temps. Thinner air exaggerates error, so pinpoint accuracy matters on big cuts.
- Backlit Displays: I prefer thermometers with bright, backlit screens, especially for late-night grilling when porch lights aren’t cutting it.
- Long Probes and Cables: I use longer probes (over 4 inches) and extended cables on leave-in models. They work better with thick roasts and deep smokers, preventing heat loss.
- Altitude Adjustment Features: I look for settings or calibration tools that allow for local boiling point adjustments, since water boils at around 198°F (92°C) at 7,500 feet.
- Durability: I choose waterproof or splash-proof models since mountain weather can change fast.
- High-Temperature Range: I pick models rated up to at least 572°F (300°C) for searing steak or indirect turkey cooks.
| Thermometer Type | Example Model | Key Use Case at Altitude | Response Time | Special Feature |
|---|---|---|---|---|
| Instant-Read Digital | Thermapen ONE | Checking steaks and burgers fast | 2-3 sec | High accuracy, fast stabilization |
| Leave-In Probe | ThermoWorks Smoke | Briskets and roasts, smoker temp | N/A | Dual probes, alarms |
| Infrared | Etekcity Lasergrip | Grate and pizza stone surface | Instant | No-contact, wide temp range |
Step-by-Step Guide: How to Use a Thermometer for Grilling at High Altitudes
Using a thermometer the right way makes high-altitude grilling much easier. I handle thermometer calibration, placement, and altitude adjustments every time I fire up my grill in the mountains.
Calibrating Your Thermometer for Altitude
I calibrate my thermometer before grilling at high altitudes because boiling points change considerably above sea level. At 5,000 feet, water boils at about 203°F instead of 212°F. I fill a pot with water, bring it to a rolling boil, and insert my thermometer probe. If the device reads anything other than the known boiling point for my elevation, I adjust it using its calibration function. For digital thermometers that don’t allow calibration, I keep the offset in mind when reading temperatures. Calibrating accounts for both air pressure differences and thermometer drift, keeping me confident in my readings.
Proper Placement and Timing for Accurate Readings
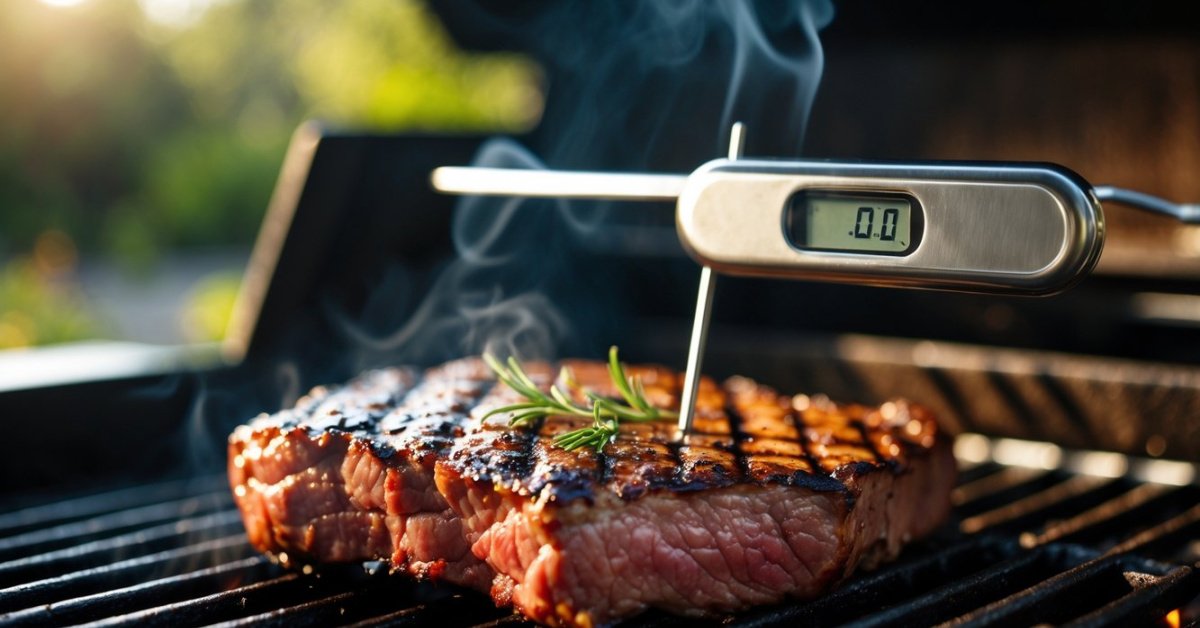
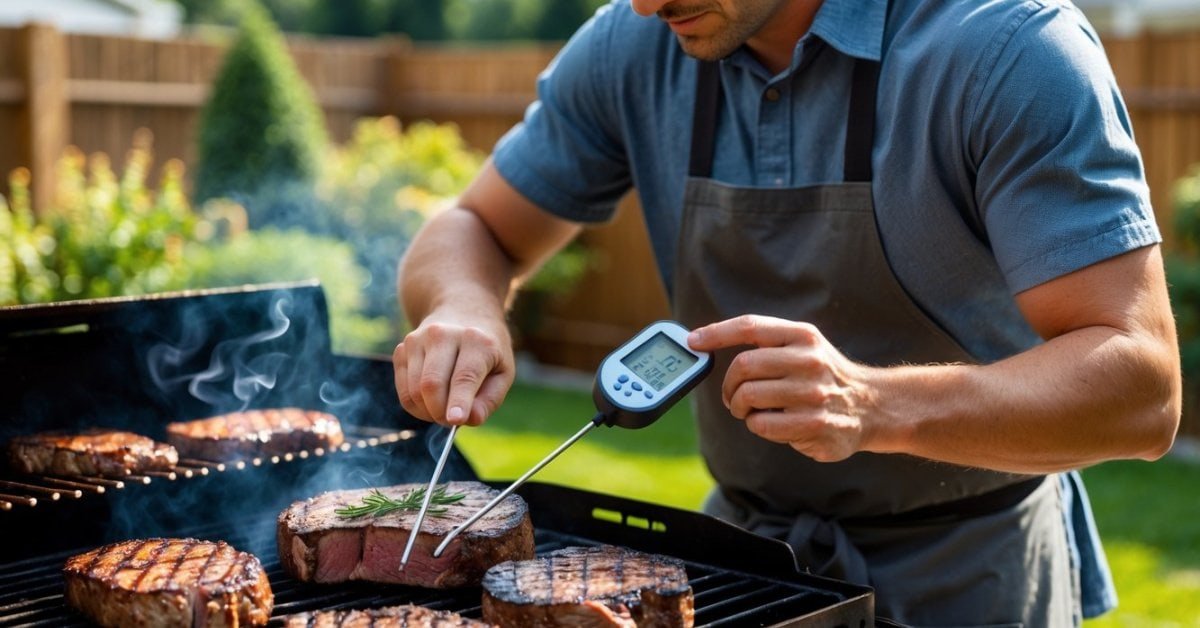
I insert the thermometer probe into the thickest part of the meat when grilling at high altitude, making sure it doesn’t touch bone or fat. For steak, I aim for the center core. For whole chicken or brisket, I target the deepest, meatiest section. I avoid opening the lid too often, since heat escapes quickly in thin mountain air. I take quick readings with an instant-read thermometer to minimize temperature drops inside the grill. I wait at least 15-30 seconds with my leave-in probe models to let the temperature stabilize before recording the reading. This routine keeps my doneness checks consistent and reliable with every cut of meat or poultry.
Adjusting Cooking Times and Temperatures
I lengthen my cooking times by 10-20% above 3,500 feet elevation, depending on the thickness and type of meat. At higher altitudes, food cooks slower and loses moisture faster, so I closely monitor internal temps rather than relying on visual cues. I reference USDA safety guidelines for each protein and make altitude-specific notes in my BBQ notebook. I lower my target grill temperature by 15-25°F when slow-cooking pork shoulder or brisket at altitude to control moisture loss. For burgers, I stick to the thermometer and pull them as soon as they hit the safe number, preventing dry patties or chewy steaks. These adjustments, paired with an accurate thermometer, keep my results juicy and safe.
Troubleshooting Common Issues
Thermometer Inaccuracy
I notice inaccurate readings when my thermometer isn’t calibrated for altitude. Boiling water at higher elevations rarely reads 212°F, so I always check calibration against the local boiling point. If I see significant drift—even after calibration—that usually points to a failing probe or low battery.
Erratic or Slow Response Times
I often experience delayed or fluctuating readings with cheaper digital models. Cold batteries and condensation in probe wires cause these lags. Before every cook, I test my thermometer in a glass of ice water and boiling water for consistent speed. Any lag means it’s time to check the batteries, dry the probe, or try a backup.
Dead Spots or Bad Probe Placement
I find inaccurate temps if the probe tip isn’t in the right place. For thicker meats like brisket or pork butt, I insert the probe into the geometric center, steering clear of bones or fat pockets. Bones conduct heat faster, skewing the reading, while fat may underreport.
Environmental Interference
I run into issues with high winds and direct sun, which skew surface temperatures on infrared thermometers. Shielding the device with my hand and measuring from a consistent angle minimizes errors. Wireless thermometers sometimes lose signal in remote mountain spots, so I keep the receiver close to the grill.
Battery and Power Problems
I get caught off guard when my instant-read runs out of juice. I stockpile spare batteries and check power before camping or tailgating. I prefer models with battery life indicators and auto-shutoff features since I grill for long hours.
Connectivity Dropouts
When I’m using wireless or Bluetooth thermometers, altitude and terrain occasionally block the signal. Clear sightlines between transmitter and receiver, using mesh WiFi or signal boosters near the grill, keeps data flowing.
Moisture Condensation
I’ve seen condensation fog up probe displays during long cooks. I wrap exposed wire junctions in high-temp tape and stash the transmitter under the grill lid or in a shaded spot. If water gets inside, I dry everything with silica packs before storing.
| Issue | Typical Cause | Solution |
|---|---|---|
| Inaccurate readings | Poor calibration, bad probe | Calibrate for altitude, replace or dry probe |
| Slow/erratic response | Low battery, condensation | Change batteries, dry probe, pre-test |
| Incorrect placement | Probe not in meat center | Insert probe in thickest part, avoid bones/fat |
| Environmental errors | Wind, sunlight, signal loss | Shield device, maintain receiver proximity |
| Power failure | Dead battery, extended use | Check before use, keep spares, choose long-life models |
| Connectivity dropouts | Wireless/Bluetooth interference | Place transmitter close, use boosters, clear obstacles |
| Moisture/condensation | Weather, humidity, steam | Use covers/tape, use silica packs, dry thoroughly |
Conclusion
Grilling at high altitudes definitely keeps me on my toes but I’ve found that a good thermometer is my best friend up here. With a bit of practice and the right tools I can relax and focus on enjoying the process instead of stressing over unpredictable results.
Every cookout becomes a chance to learn something new and share great food with friends. I love knowing that with a reliable thermometer by my side I can tackle any grilling challenge the mountains throw my way.

