
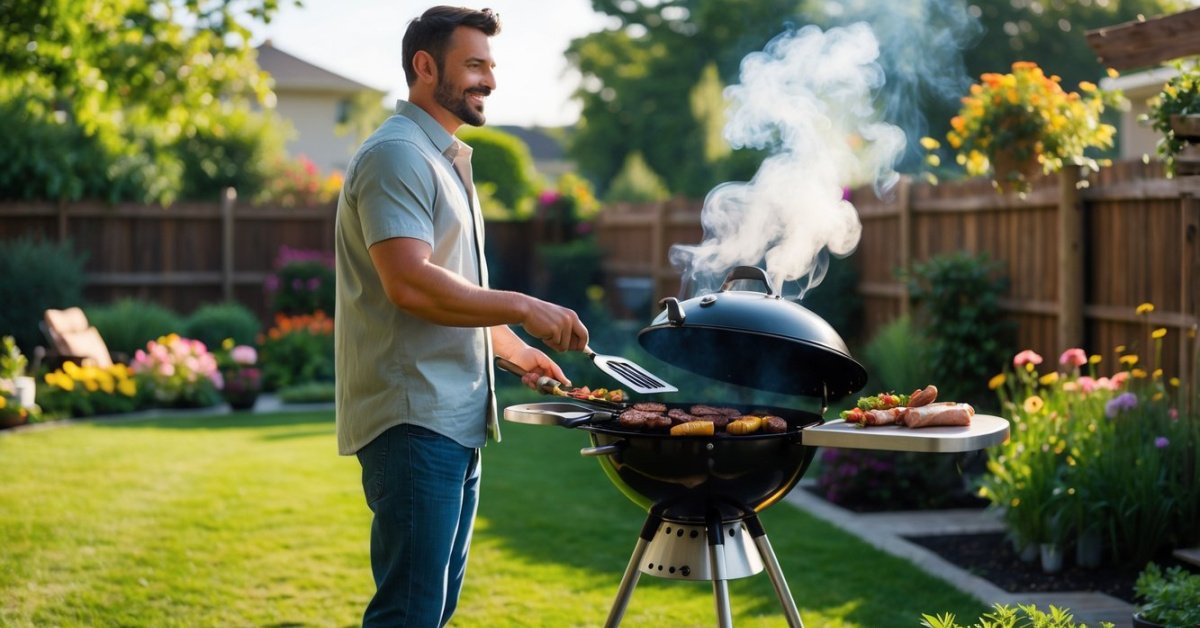
Grilling turkey always feels like a special occasion to me. There’s nothing quite like that smoky aroma and the promise of juicy, flavorful meat. But getting it just right isn’t always easy—especially when I want to avoid dry turkey or, worse, undercooked spots.
That’s where a trusty thermometer comes in. I’ve learned that using one takes the guesswork out of grilling and helps me serve up turkey that’s both safe and delicious. With a few simple tips, I can make sure every bite is cooked perfectly, no matter the size of the bird.
Choosing the Right Thermometer for Grilling Turkey
Grilling turkey calls for accuracy and consistency which only the right thermometer delivers. Over the years, I’ve found that picking the correct tool depends on both what you grill and your personal bbq style.
Types of Thermometers
Selecting a thermometer for grilling turkey involves knowing the main types:
- Instant-read thermometers: I use these small digital devices for quick temperature checks at multiple spots in the turkey. They give results in 3–8 seconds and work well for both breast and thigh.
- Leave-in probe thermometers: I trust these if I want continuous temperature monitoring. Models with wired or wireless displays let me track internal temp without opening the grill, keeping heat steady.
- Dial analog thermometers: I rarely rely on analog models because I’ve noticed they usually react slower and require recalibration. They fit better for casual grilling or as a backup option.
Features to Look For
Identifying the best thermometer for grilling turkey means checking for essential features:
- Accuracy: I look for models tested to be accurate within ±2°F as recommended by the USDA for food safety.
- Speed: I choose thermometers that display results in under 5 seconds so I don’t lose grill heat during checks.
- Temperature range: I opt for units that register between 32°F and 482°F to cover the spectrum for turkey and other proteins.
- Display: I prefer backlit, large digital displays so I can read temps in daylight and low-light grill settings.
- Durability: I make sure housings are water-resistant or splash-proof, especially for outdoor cooks in unpredictable Texas weather.
- Wireless or remote capability: I recommend wireless probes for long cooks, since I can monitor the grill and entertain guests at the same time.
Choosing the right thermometer makes grilling turkey safer, more reliable, and much more enjoyable.
Preparing Your Turkey for Grilling
I always start preparing turkey for grilling by ensuring the entire bird’s thawed evenly. A whole frozen turkey takes about 24 hours per 4-5 lbs when thawing in a refrigerator. Even thawing helps the thermometer deliver accurate readings for every part of the turkey.
I trim excess fat and remove any leftover feathers with kitchen shears before seasoning. Even surfaces let my thermometer probe slide smoothly into thick sections like the breast or thigh.
I pat the turkey dry using paper towels. Dry skin encourages better browning, ensuring a crisp finish and preventing thermometer slippage. I season the turkey inside and out with a dry rub or marinade, depending on the recipe I’m testing. Salt, black pepper, garlic powder, and paprika give a balanced base for smoke flavor.
I tie the legs together and tuck the wings under the bird to create an even shape. Uniform shape promotes even grilling and reduces the risk of uneven cooking, which can interfere with accurate thermometer measurements.
When prepping for the grill, I insert an oven-safe leave-in probe in the thickest part of the breast. This spot cooks slower than other sections, so tracking its temperature first prevents undercooking. I avoid bone contact, since bones skew thermometer readings.
After prepping the turkey following these steps, I set up my grill for indirect heat, making sure the temperature stays consistent for the entire cook. This way, I know my thermometer will provide a reliable reading as the turkey cooks evenly throughout.
Step-by-Step Guide: How to Use a Thermometer for Grilling Turkey
Using the right thermometer technique locks in both food safety and taste for grilled turkey. I check temps often to keep meat juicy without overcooking.
Inserting the Thermometer Correctly
I always insert the thermometer probe in the thickest part of the turkey breast since this spot cooks slowest. I avoid touching bone, gristle, or the cavity, since their temps run hotter or give false readings. For whole turkeys over 12 pounds, I angle the tip toward the center—about halfway through the breast muscle for most consistent results. With leave-in probes, I insert them before moving the turkey to the grill, guiding the cable away from flames or direct heat zones.
Monitoring Temperatures During Grilling
I check the thermometer display every 20-30 minutes, since grill heat fluctuates. With analog dial models, I make a quick check by removing the lid and taking a fast reading, keeping the grill closed as much as possible to avoid heat loss. On wireless probes, I keep the receiver with me so I spot any spike in temp instantly—especially useful with two-zone heat setups for big turkeys. I confirm low readings match my grill’s conditions if indirect heat is set up, since cool spots sometimes slow down the cooking.
Identifying the Perfect Doneness
I always look for 157–160°F (69–71°C) at the thickest part of the breast, since carryover raises the turkey’s temp to the USDA’s recommended 165°F (73.9°C) as it rests. I double-check the temperature in the thigh—avoiding bone—since dark meat finishes closer to 170–175°F (77–79°C). If both spots show the right range, I remove the turkey and tent it loosely with foil, letting juices redistribute and surface temps finish climbing for a perfect slice.
Common Mistakes to Avoid
- Misplacing the thermometer probe
Grilling turkey requires precision, so I avoid inserting the probe too close to bone, gristle, or the pan, since those spots lead to inaccurate readings every time.
- Checking the temperature too infrequently
Consistent grilling results come from checking the internal turkey temperature every 20–30 minutes, especially with shifting grill heat, so I never wait longer or rely on memory.
- Using a broken or uncalibrated thermometer
Reliable thermometer readings depend on routine calibration; I test mine with ice water and boiling water before every big grilling session to catch drifting accuracy.
- Sticking to a single spot for temperature checks
Even results require inserting the thermometer in both the thickest breast and thigh, since one spot always cooks faster—skipping one risks undercooked or dry meat.
- Piercing the meat repeatedly
Juicy turkey comes from checking with minimal punctures; I keep each probe entry to just the right spot, since excessive poking lets juices escape and dries out the bird.
- Ignoring carryover cooking
Optimal tenderness comes from removing the turkey a few degrees below 165°F (73.9°C); resting under foil lets it finish cooking safely, so I avoid impatience here.
- Forgetting to clean the thermometer
Accurate, safe grilling involves cleaning the thermometer after every use, since leftover bits can cross-contaminate or affect future readings.
Tips for Juicy and Safe Grilled Turkey
- Use accurate digital grilling thermometers
I trust digital instant-read and probe thermometers for fast, consistent readings. Models like the ThermoWorks Thermapen ONE and MEATER Plus stay accurate in fluctuating grill temps and handle thick turkey cuts easily.
- Insert probe before starting and avoid moving it
I always set the probe into the thickest breast area before the turkey hits the grill. This method prevents juice loss and ensures even heat tracks throughout cooking.
- Monitor both breast and thigh temperatures
I aim for 157–160°F on the breast, then double-check that the thigh hits at least 175°F. These checks ensure bacteria-free poultry and juicy, tender meat on every slice.
- Rest turkey tented with foil once grilling’s finished
I move the turkey off direct heat, tent it loosely with foil, and rest it for 20–30 minutes. This step lets juices redistribute, boosting moistness and smoothing muscle fibers for clean carving.
- Confirm thermometer calibration before grilling
I dip thermometers in ice water (32°F) and boiling water (212°F at sea level) to confirm accuracy before starting. Even the best tools lose calibration with frequent use.
- Keep grill lid closed except for quick temperature checks
I only open the grill lid when my thermometer signals that it’s time. Consistent heat management improves both safety and succulence.
- Clean probes thoroughly between uses
I scrub probes with hot, soapy water immediately after use. This habit prevents cross-contamination, crucial for safe grilled turkey by USDA food safety standards.
Conclusion
Grilling turkey doesn’t have to feel intimidating or stressful. With a good thermometer and a few mindful techniques I can focus on enjoying the process and sharing a delicious meal with friends and family.
I’ve found that taking a little extra care with temperature checks makes all the difference in both taste and safety. Now when I grill turkey I know I’m serving something juicy flavorful and perfectly cooked every time.


