
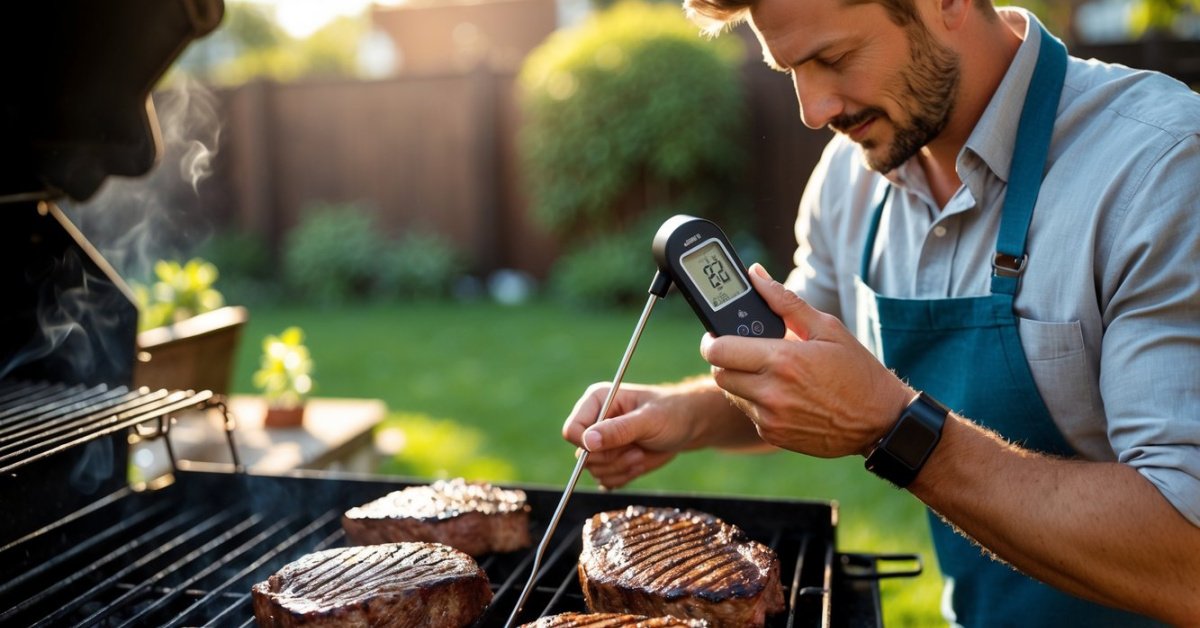
Nothing ruins a backyard barbecue faster than overcooked steaks or underdone chicken. I’ve learned that even the fanciest grill can’t make up for an inaccurate thermometer. That’s why I always take a few minutes to check my grilling thermometer before I fire up the coals.
Calibrating a thermometer might sound technical but it’s actually pretty simple. With just a couple of easy steps I can make sure my food comes out perfect every time. If you’re new to grilling or just want to up your game you’ll find that a little calibration goes a long way.
Understanding the Importance of Calibration
Proper calibration of a grilling thermometer affects the accuracy of every recipe. Accurate thermometers provide real-time readings for brisket, steak, or chicken thighs, letting me keep each cut at its target temperature. Small errors as low as 2–5°F can mean the difference between juicy, safe meats (like pork at 145°F) and dry, overcooked results or underdone, unsafe bites.
Even new thermometers can stray from their true readings after high heat, bumps, or exposure to water. I’ve seen store-bought probes off by 7°F straight from the package. Regular calibration gives me confidence, minimizing guesswork with both digital and analog models.
Professional smokehouses, like the ones I visited in Austin, check thermometers daily for food safety. I found that accurate readings also prevent wasted meat. Calibration before each big grilling session ensures the thermometer delivers reliable numbers, keeping flavors in focus and making my results repeatable for any bbq recipe.
Tools Needed for Calibrating Your Grilling Thermometer
- Cup or Container (Heatproof Glass or Metal): I use a sturdy glass or stainless steel cup to hold ice and water or boiling water for calibration.
- Crushed Ice: I fill the cup about halfway with crushed ice for the ice-water test, which checks the accuracy at 32°F.
- Boiling Water Source: I always boil water using a kettle, grill burner, or stovetop for a boiling point check, targeting 212°F at sea level.
- Digital Timer or Stopwatch: I time each test for accuracy, usually waiting 30–60 seconds for the reading to stabilize.
- Tongs or Grill Mitts: I handle hot containers and thermometers safely with silicone-tipped tongs or thick mitts to avoid burns.
- Clean Cloth or Paper Towel: I dry the thermometer probe after each test so readings stay precise and the probe doesn’t stick.
- Calibration Tool (Small Wrench or Flathead Screwdriver): If my thermometer has a calibration nut, I turn it with a mini wrench or screwdriver—most dial thermometers need this adjustment.
These tools let me calibrate grill thermometers like instant-read probes, dial faces, and digital sensors for brisket, steaks, or smoked chicken.
Step-By-Step Guide to Calibration
I rely on my grilling thermometer for every cookout, so regular calibration keeps my brisket juicy and steak perfectly done. I use proven calibration methods before every big BBQ, especially after rough rides in my old food cart days.
The Ice Water Method
I use the ice water method to check if my thermometer reads 32°F accurately. First, I fill a heatproof cup with crushed ice, then pour in enough cold water to cover the ice. After stirring the mix for 30 seconds, I let it settle so it’s packed. I insert the thermometer probe into the center, making sure it doesn’t touch the cup’s sides or bottom. I wait about 30 seconds, then check the reading. If the display doesn’t show 32°F, I adjust it using my calibration tool. I repeat the test until I see 32°F, then dry the probe with a clean cloth.
The Boiling Water Method
I use the boiling water method after confirming with the ice water test, since altitude affects the boiling point. I bring a pot of water to a rolling boil—212°F at sea level. I grip the thermometer with tongs or wear grill mitts, then lower the probe about two inches into the boiling water, avoiding contact with the pot. I check the reading after 30 seconds. If it’s not 212°F, I use my wrench or screwdriver to adjust the thermometer, recheck, and repeat as needed. I always factor in altitude, subtracting roughly 1°F for every 500 feet above sea level. Accurate calibration means reliable temps for anything from ribs to chicken thighs.
Troubleshooting Common Calibration Issues
Incorrect Readings After Calibration
I notice inaccurate readings after calibration most often when the thermometer probe isn’t fully submerged or makes contact with the container’s sides during the test. I fix this by making sure the probe’s immersed two inches or more and floats in the center away from metal or glass.
Fluctuating Temperature Display
I see readings jump around rapidly when moisture gets inside digital thermometer housings or wires. I check for condensation under the display panel or battery compartment. Drying out the device thoroughly and resealing the casing helps prevent this issue.
Inability to Adjust Mechanical Dials
I run into dial thermometers that resist adjustment if mineral buildup or food debris has blocked the adjustment nut. I clean the area thoroughly with a small brush, then try recalibrating with my calibration tool.
Slow or Lagging Response
I get slow readings with older or lower-quality thermometers, especially after repeated heat shocks. If I see more than 10 seconds lag after immersion, I replace the battery for digital models or consider upgrading to a new probe style.
Thermometer Not Holding Calibration
I find that some thermometers, particularly economy models, don’t hold calibration after a test or a grilling session. I record the before-and-after readings in a table to track changes, then decide if I need to recalibrate frequently or invest in sturdier gear.
| Problem | Common Cause | Solution |
|---|---|---|
| Incorrect readings | Improper probe placement | Submerge correctly, avoid container sides |
| Fluctuating display | Moisture in device | Dry and reseal housing |
| Dial won’t adjust | Debris/mineral buildup | Clean and recalibrate |
| Slow response | Battery/old probe | Replace battery or probe |
| Won’t hold calibration | Low-quality device | Track and recalibrate or upgrade |
I keep these issues in mind each time I check my thermometer. By spotting and fixing these calibration problems, I know my grill temps are right on target for every brisket, ribeye, or pork chop.
Tips for Maintaining an Accurate Thermometer
- Store in a Dry Spot
I never leave my grill thermometers outside or in damp areas, since moisture or humidity can cause sensor errors and corrosion on digital units.
- Clean After Every Use
I always wipe the thermometer probe with a damp cloth after each cook, especially when measuring meats like brisket or pork shoulder, because food residue affects readings and can attract bacteria.
- Avoid Extreme Heat Exposure
I keep thermometers out of direct flames or hot grill zones unless testing temp, as too much heat may permanently affect the sensor or cause plastic parts to melt.
- Check Calibration Frequently
I double-check calibration every 3–5 grilling sessions and always before big events or long cooks, since even a few uses can throw off most dial or digital thermometers.
- Replace Batteries Regularly
I swap out batteries at least twice a season in my digital thermometer collection, because weak power sources cause slow readings and false temperature spikes.
- Handle with Care
I never bang or drop thermometers, since impacts cause dials or internal sensors to drift and throw off accuracy, especially on older bimetal models.
- Keep Spares Ready
I keep a backup thermometer handy, usually a simple instant-read unit, so I always have a verified reference if I doubt the accuracy of my primary tool.
Conclusion
Grilling is so much more enjoyable when I know my thermometer’s giving me accurate readings. Taking a few minutes to calibrate and care for my thermometer has made a real difference in my results. I love the confidence it brings when I’m cooking for friends and family.
If you haven’t tried calibrating your thermometer yet give it a shot before your next cookout. It’s a simple habit that’ll help you get the most out of every grilling session and ensure your food always comes out just right.


